Most of our interior spaces have been renovated or remodeled by now in our 1925 Dutch Colonial house in SE Portland, but one of the spaces that we’ve put off since we moved in two years ago, not sure of what we wanted to do, was our basement. We actually have a pretty large L shaped basement with decently high ceilings compared to other houses of our time period. And while the front part of the basement was partially finished off when we moved in (some gyp-board walls and ceiling), other parts were just the concrete foundation walls and the back room on the small part of the “L” shape was completely unfinished: concrete walls, open exposed ceilings, etc.
Honestly, it was never a project that we had planned on doing because it didn’t really matter what it looked like. We are the only ones that go down there and it’s really only used for laundry and storage. But over our two years here, I did get tired of going down to a dark, unfinished space to do my laundry every day. So a few months ago, I started thinking, how could we begin renovating our basement to make it nicer without spending a ton of money? In the end, renovating a basement wasn’t nearly as big of a project as I thought it might be and I’m so glad we did it!
Step 1 : Determine How Far You Want to Go + What Your Budget Will Be
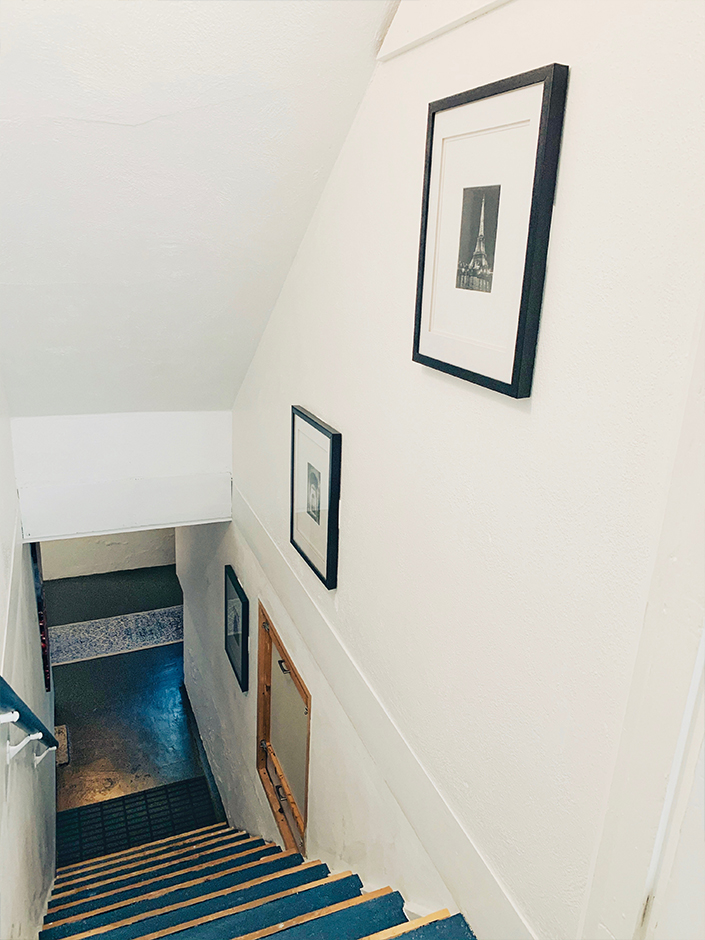
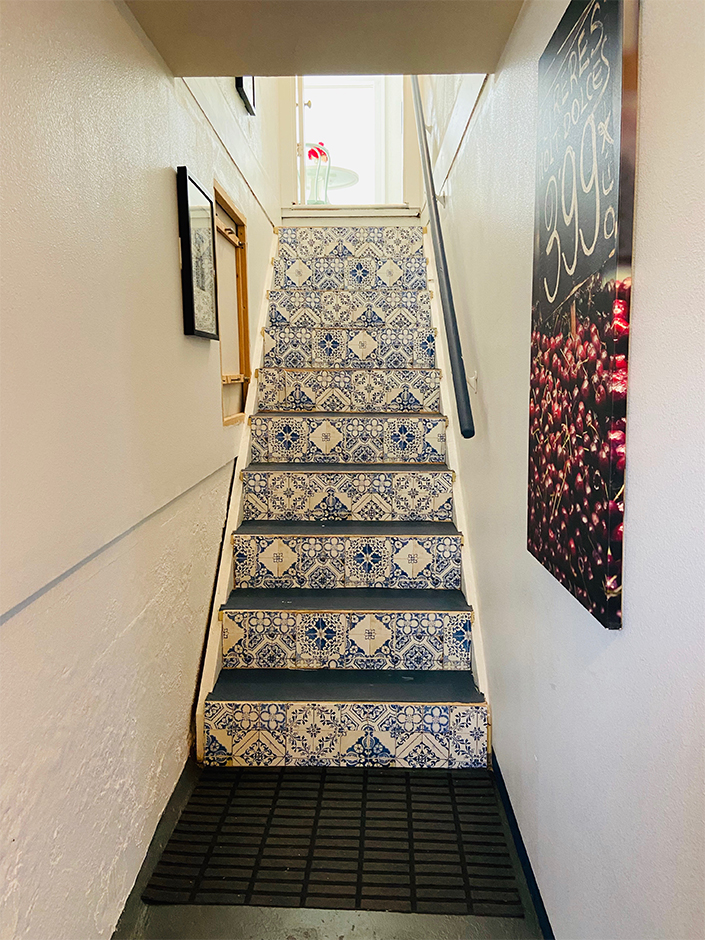
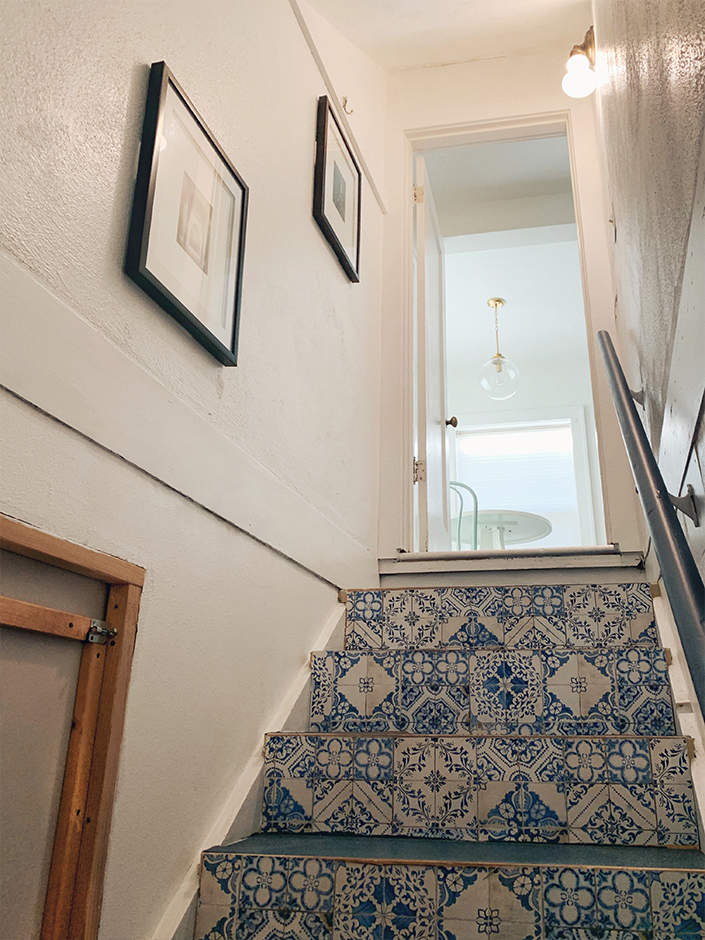
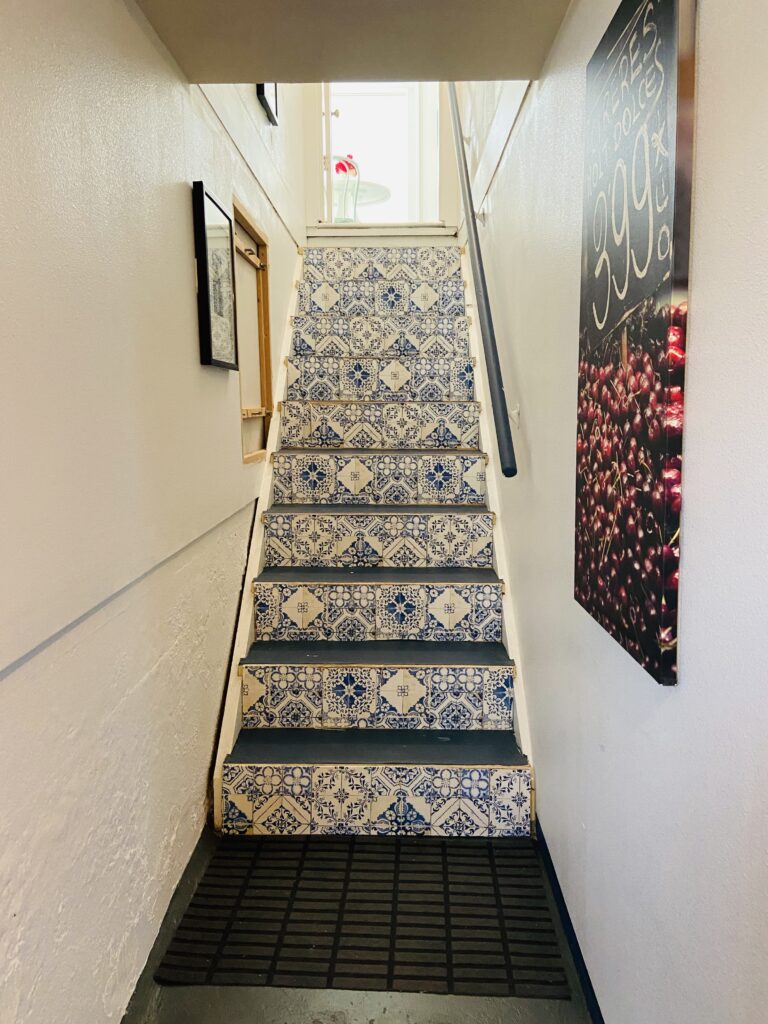
When we first moved into the house two years ago, I hated the stairs going to the basement and I put wallpaper on the fronts of the stairs and painted the treads navy blue. But then, after that, the basement stayed as is for two years. At the beginning of this project when we revisited this renovation in August, we needed to determine how far we wanted to continue to go. Did we want to go all out and have it completely finished out? Or did we want to renovate it just far enough that we could enjoy the space for laundry and not cringe when we went down there to get something out of storage? We chose that second option and decided to do this renovation on a small budget, using mainly things we already had (see more in Step 2) and only hired out to have some trim done around the edges of the concrete walls to finish off the space a bit more. In the end, we spent less than $500 on this basement renovation and did most of it ourselves.
Step 2 : Use What You Have
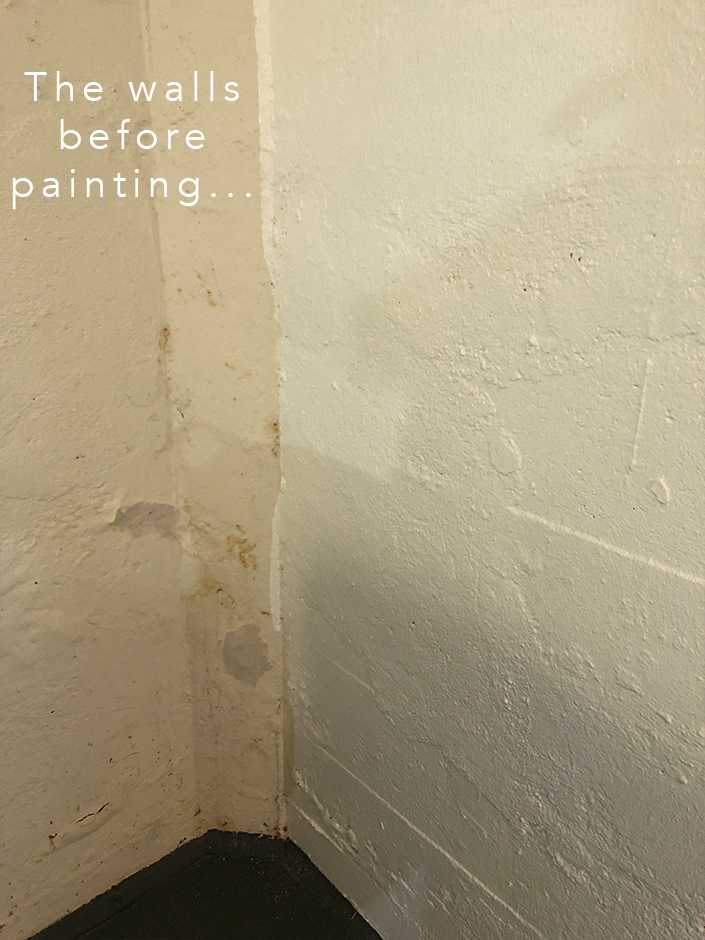
When we looked at the basement, the main issues were: unfinished concrete walls with chips and gashes in them, ugly yellow dingy paint color on the gyp board wall sections, dingy painted light gray concrete floor and lack of it feeling like a real “space.” Immediately, we knew most of our problems could be solved simply and quickly with paint. Other than help with trimming out the unfinished concrete walls which we had our handyman do, we did everything else ourselves for this renovation.
Once we knew what we needed to do, I went to our garage and looked at what paint I had in there. I had an old bright white paint that I had bought when we first moved in two years ago, but that I never ended up using. That became our wall color to brighten up the space. I had extra navy blue paint that I had used in our guest room renovation two years ago; that became our accent color for the doors and window trim. And after all the painting got done, fast forward to the end of the project when I knew we needed to add some artwork down there to make it feel like a real space, I went through the artwork from our previous homes that haven’t worked in this house and filled the walls with travel photos and canvases so that it feels like an actual space at no additional cost as we already had them, just sitting in storage.
It’s amazing how much money you can save by using what you already have, especially things that you may have that don’t work in your current house that might be perfect for a space like a basement!
Step 3 : Clean, Patch + Paint
After we had our plan, the first step was a good clean in the basement. We vacuumed and swept several times to get the cobwebs out, cleaned behind things that had been sitting in there for years and just overall, did a deep clean. We’ve also had our pest control people spray down in the basement for the past couple of years which has really helped with critters and such, so there is no issue with bugs or anything like that anymore.
The first thing I did was to paint the walls in the staircase going down to the basement. These already happened to be mostly gyp board, which definitely helped make it feel more finished but they were a dingy yellow color which darkened the whole space. I used that bright white paint that I had in the garage and painted the whole space and in a matter of minutes, it was amazing to see how much brighter it felt just by painting.
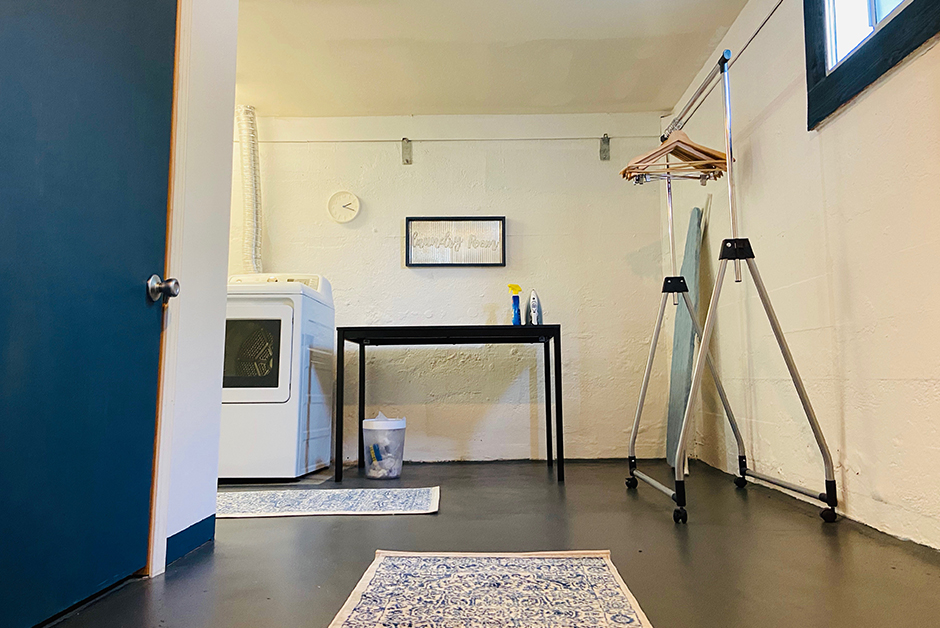
Next I moved to the concrete floor. I had a half gallon of the paint I had used to paint our linoleum tile upstairs in the kitchen and bathroom and decided to try it out on the concrete in the basement. Long story short, it worked amazing! I painted the entire basement concrete floor with this paint and while I did have to order another gallon, it was definitely worth it. The color and texture works perfectly down there and connects it to the upstairs as well since it’s the same color we used at the top of the stairs.
For the concrete walls, I patched the large gashes with a stucco/concrete putty and let it dry. Then I bought a gallon of Zinsser Mold Killing Primer and went to work. Along with a paint rollers for very rough surfaces, I painted all the concrete walls in the bright white primer. My thought using this product was that, as a basement space in very wet Oregon, it would help with moisture control over time. I didn’t need the surface to look amazing, just to brighten up the space with a bright white color and give the walls a cohesive feel.
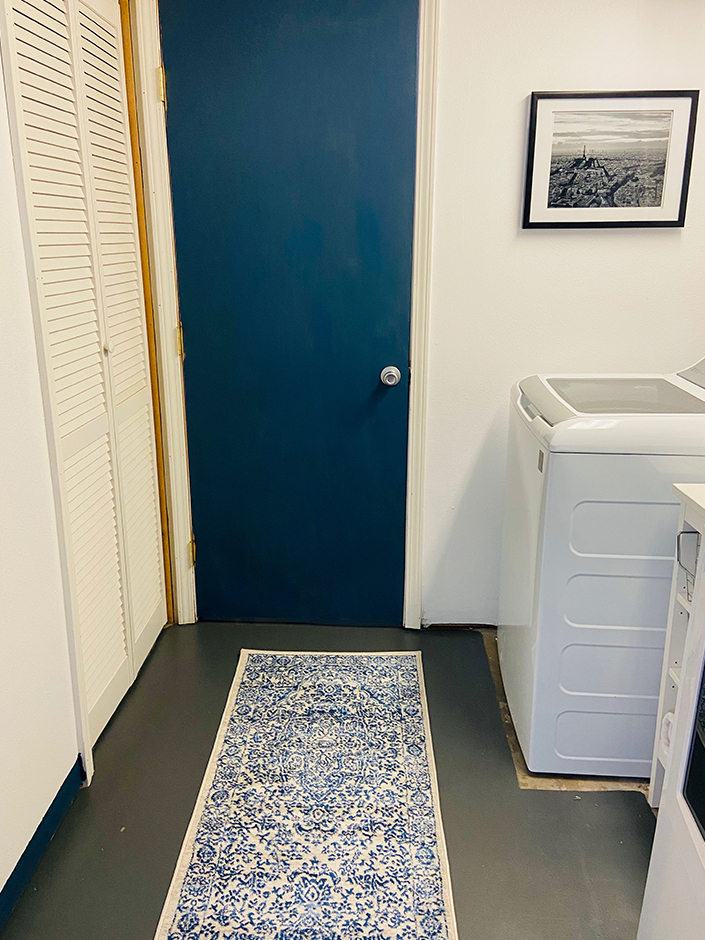
For the trim in the space, I used the Navy blue paint I already had to finish off the doors and window trim. Adding another color, which didn’t cost me anything as I already had it, helped to give the space a real feel and add a different element than just bright white. We also had our handyman finish off the trim along the top of the basement concrete walls to finish off the space and I painted that trim bright white as well.
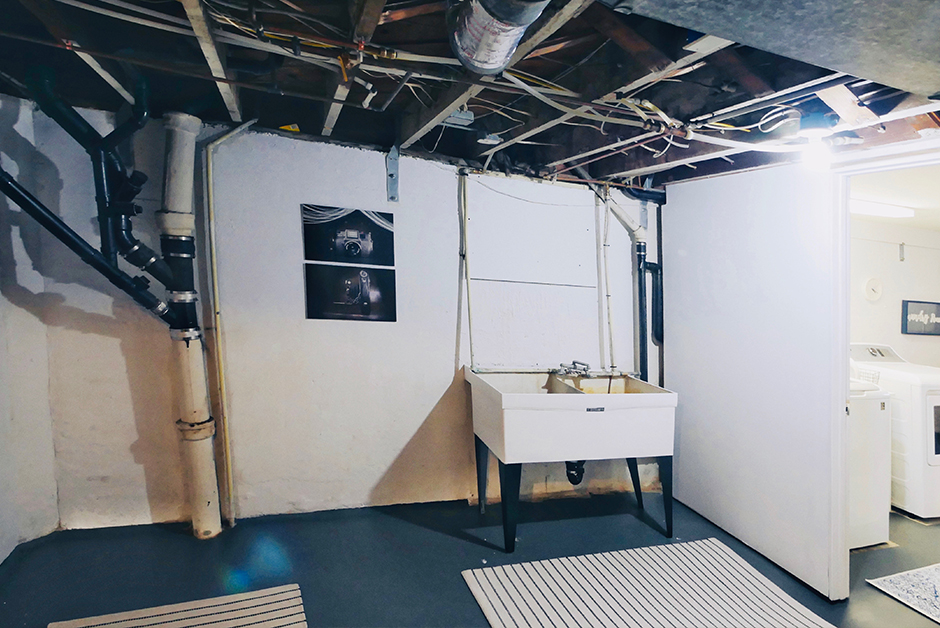
Finally, I grabbed the Zinsser primer again and was ready to experiment. In the back room of our basement, a very old and dirty utility sink has been there since we moved in. I honestly hadn’t touched it in 2 years but since it was there and since it actually works, I grabbed my paint brush and started painting the exterior of the sink to see what would happen. I ended up painting the sink itself in two coats of white and painted the legs black, with some black paint that I already had in the garage. In short, it looks amazing and the sink looks a million times better! When in doubt, paint it!
Step 4 : Add Design Elements
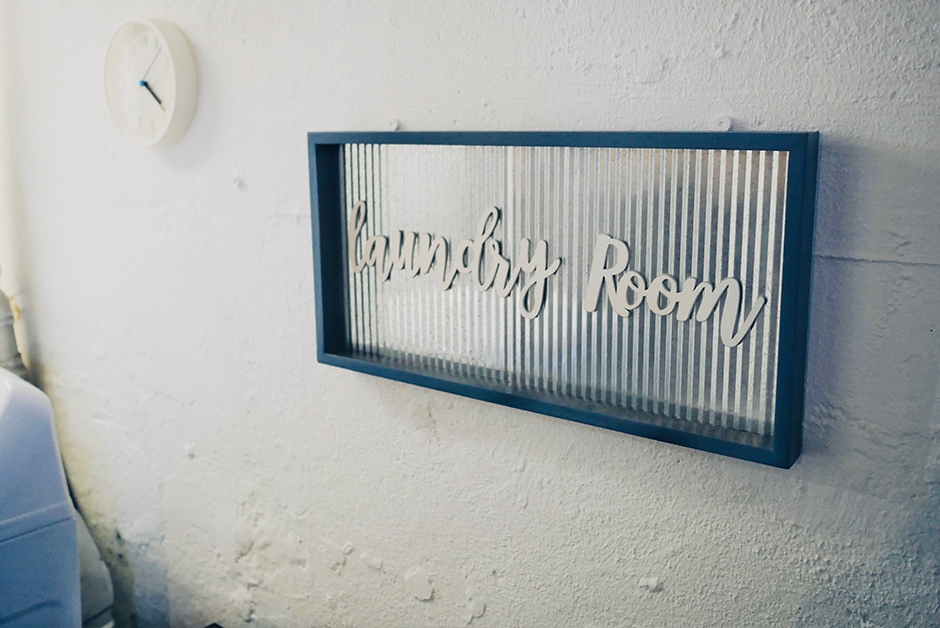
After everything got painted, I went straight to our stash of art and photo prints that we save. We had a couple canvases and photo prints of Nick’s that we’ve used in previous homes but that never worked in this house but are perfect for the basement! Two of my favorite canvases got hung in this new space, one of cherries that Nick took in a market in Barcelona and another of the Eiffel Tower that he took on one of our first trips to Paris. Next, I found three black and white photos that I had in our bedroom in our townhouse and hung those in the staircase going down to the basement and each time I pass them, I smile. By the laundry area, I had found a cute old vintage laundry sign months ago and that went up near our laundry area as well as another black and white aerial photo of Paris.
For rugs, I ordered runners that fit with the blue and white color scheme in the space. The softness adds a really nice texture in the basement and makes it feel like it’s a real space down there.
In the back room, depending on how long we end up staying in this house, we’re debating turning it into a TV room or game room. But in the meantime, Nick uses it as a photography studio sometimes and when going through our artwork archive, I found some incredible photos he took years ago of vintage cameras and added those as an extra element to brighten that back space.
Design elements like art and soft textures can make a world of difference when renovating a basement space to help it feel more like an actual space in your home. Just adding artwork for me, changes my whole perspective of the basement and I smile every time I go down there now!
The Final Result
For under $500, the renovation of our basement drastically changed the space, from a dingy, old space to a bright, cheery one. I don’t mind spending time down in the basement now and honestly, I think we’ll find more ways to use the square footage down there, the longer we stay in this home. The final result really was an incredible transformation and it was a space that were able to do mostly ourselves, which makes it even more fulfilling!
All the Items We Chose for This Space
These are the touches in this space that we purchased to do this renovation project:
