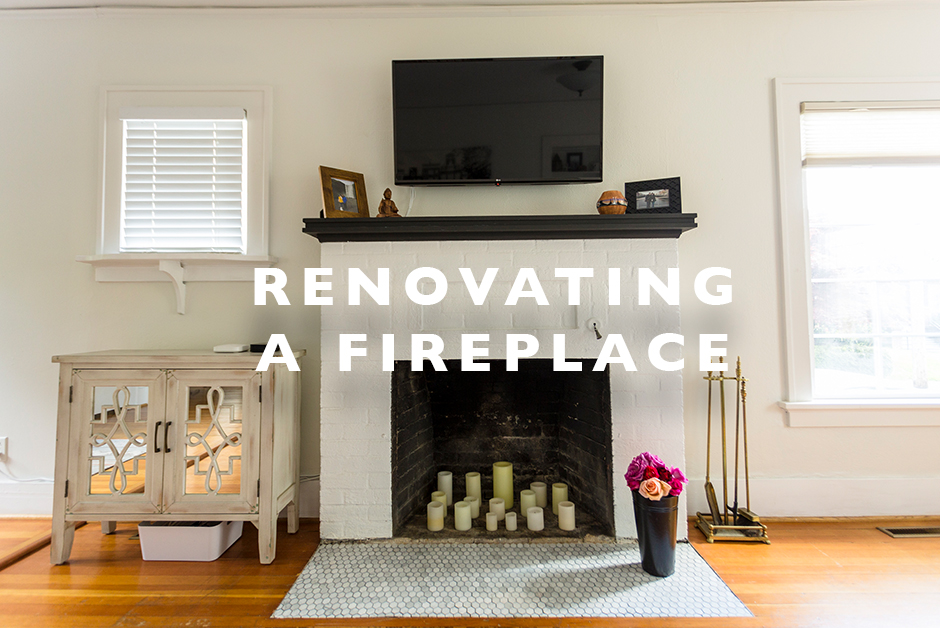
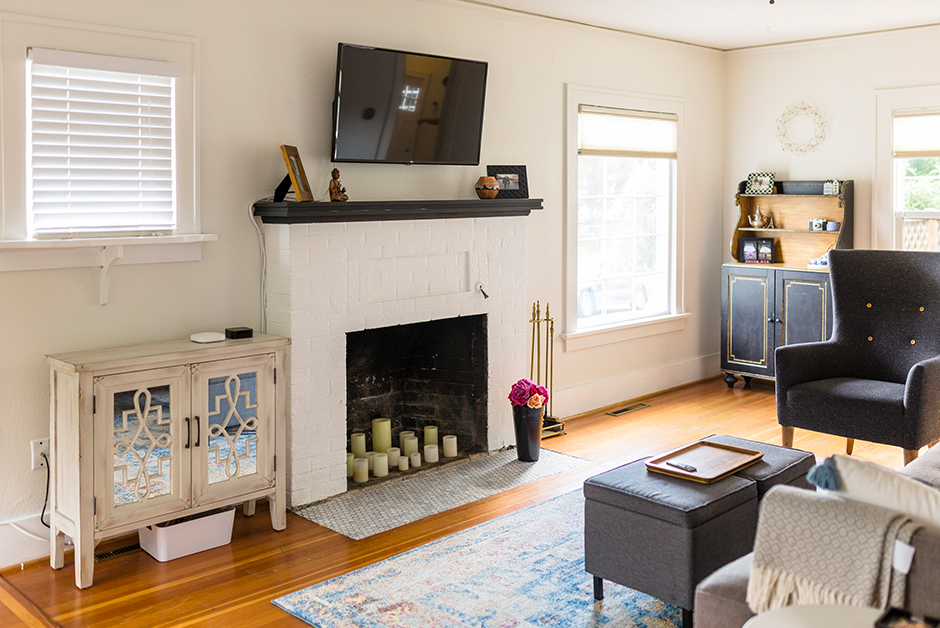
Upon moving into our house, the list of projects to update and renovate was long. Some were things that I knew would take some time, like our Kitchen Renovation, but others were things I knew I could do somewhat quickly and mostly on my own. One of those projects was renovating a fireplace in our living room to update it aesthetically and make it more of a showpiece when you walk in the space. I was able to do this project mostly by myself, with a little help from our handyman on one part of it. I love how it turned out and it matches the aesthetic of the rest of the house now as well as cleaning up the view when you walk in the front door and see it in the living room.
Step 1 : Figure out What You Need to Update
When we moved in, the brick fireplace was painted a really dark brown-y gray color. It honestly looked terrible as a first view of the house when walking in. The hearth was a dark brown tile that was broken in spots. I knew I wanted to tackle this project as one of the first things we did when we moved in and I’m so glad we did. The inside of the fireplace was also filthy and as a true wood burning unit, I don’t think it had been cleaned out in a long while. I decided I was going to do a few things while renovating a fireplace in our living room: paint the brick white, remove the existing tile hearth and re-tile, and clean out the interior of the fireplace and replace it with battery operated candles as the smell of wood burning fires bothers me.
Step 2 : Clean + Paint
The first step was to clean out in the interior of the fireplace filled with soot and trash. It was pretty dirty and the soot was caked in places rally deep as this is the original fireplace in the 1925 house and has been in operation for almost 100 years. Once I had the interior cleaned out, I moved then to the brick exterior of the fireplace in the living room. It had been painted several times I could tell as I started looking and decided to go with a fresh clean bright white just to make it feel clean and modern. After picking my paint color, I went to work, painting the brick with a paint brush and doing several coats to get rid of the old brown gray color. The mantle was already painted black so I left that and focused just on painting the brick itself below the mantle.
Step 3 : Demo Existing Tile Hearth + Level off Surface Underneath
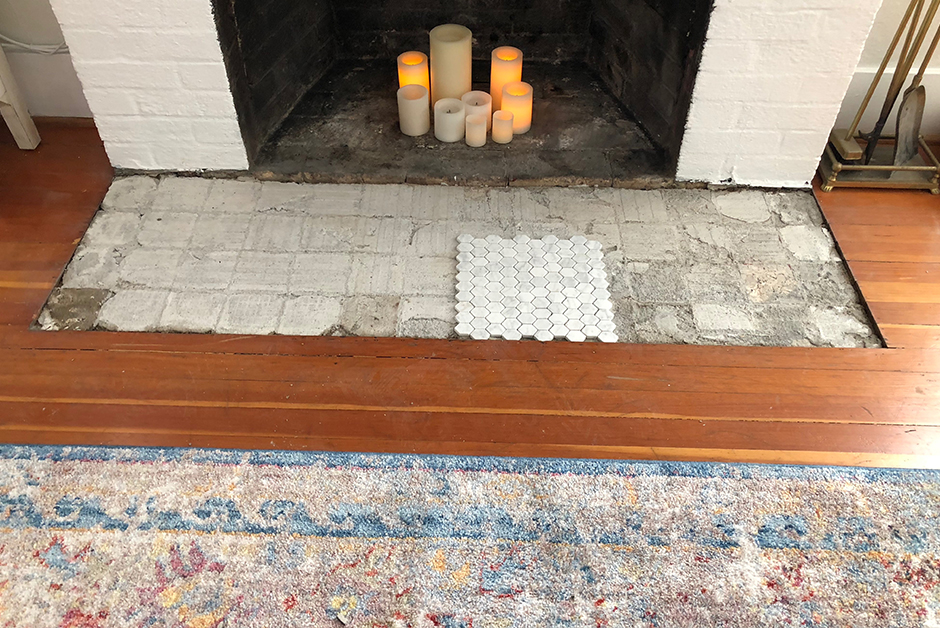
This is the step I needed to get help on. Nick’s brother helped us renovated one of our bathrooms right after we moved in and while he was here, I had him help us with the removal of the existing broken tiles on the hearth. After he removed it, we left it bare for a while thinking about what tile we wanted to put down there. One of the things I was really tied to was to keep the surface flat moving from the original hardwoods to the tile hearth. I didn’t want a lip and I didn’t want a trim piece, even though that would have made the whole process a little easier to hid the imperfections. But I knew early on, that’s the look I wanted and so we figured out a way we could make that happen.
It was really uneven under the tile we removed so we knew we’d have to put in some effort to get it smooth enough to tile again. I had my handyman take a look and he decided what would be best would be to use a machine to grind the concrete down so that was all even before it was ready to lay new tile. He worked on it to get it as smooth and even as he could and got it all ready for me to lay tile. It was well worth paying him to do that part as it required a lot of finesse and made it a lot easier for me to dive next into tiling as it was set up perfectly for me to tile.
Step 4 : Retile the Hearth
I learned to tile a few months before this project when we redid our upstairs bathroom and really enjoyed it. So when we re-did the fireplace hearth, I knew I wanted to save some money and tile it myself. We ended up using leftover tile we had that we had used in the bathroom remodel, a small marble hexagon pattern and it was easy to lay on the newly prepared hearth surface. The tiling and grouting were pretty quick as it’s such a small surface.
The Final Result
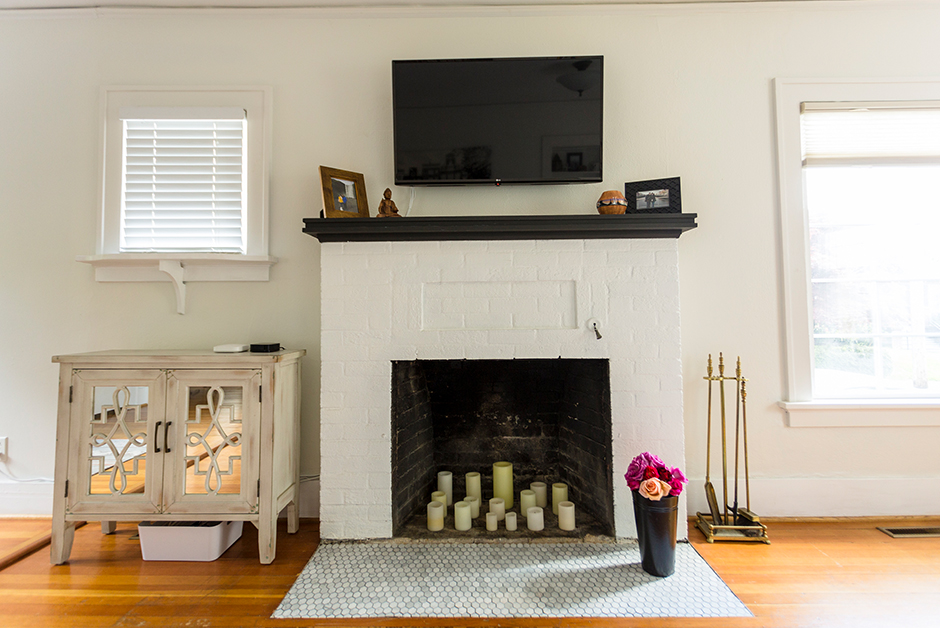
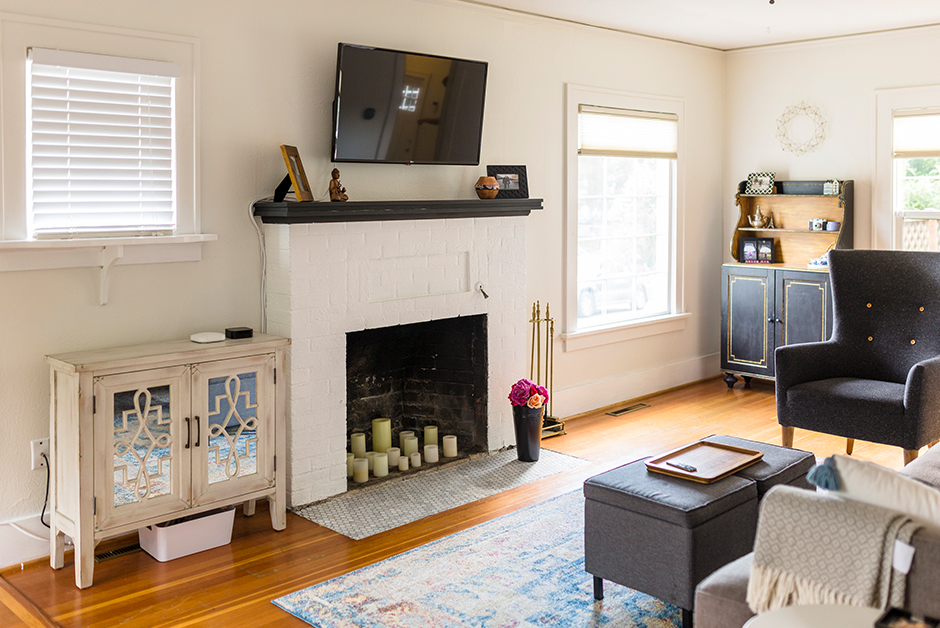
The overall result of this minor part of the house made all the difference when you see it upon entering the house. What used to be an eye sore in the living room that’s directly upon when you enter the front door, is not a showpiece that blends materials and colors that we have throughout the house and unifies the living room. It feels modern but also timeless to match the age of the house and was a relatively inexpensive project that we’ve worked on that has really changed the whole feel of the room!
Before and After
Tools You Probably Will Need to do a Similar Project
These are the tools that we purchased to do this renovation project:
