When we moved into our 1925 Dutch Colonial house in SE Portland a year and a half ago, it was the first time we’ve had an actual yard, as we’ve been in townhomes and condos previously. Immediately upon moving in, I knew what my long term vision was for the yard here. The space isn’t all that big but we knew that had a lot of work ahead to get it to where I knew I wanted it eventually to be.
The landscape in place when we moved in was a mess. Everything had been left unattended for months on end, it was a random assortment of plants without a reason for where stuff was and it definitely needed a makeover. The look of the yard definitely dated the house and didn’t do it any favors. My inspiration for what I knew I eventually wanted in the yard was the house itself, a Dutch Colonial style home. I wanted to use that house style to create something that you might see in New England, filled with hydrangeas and bushels of flowers hanging over the edges of a retaining wall. Fast forward almost 2 years later and our landscape has been completely remodeled from what it was when we moved in and here’s all about how we got there by renovating a garden.
The idea I went into the garden remodel with as a New England style garden ended up getting merged with a French Provencal vibe and honestly, it ended up being the perfect merge of two styles I love. Our house backs up against a commercial building in the backyard, so we also had to be mindful of that and balance the very industrial style of the metal building behind us with a wild but maintained garden style that juxtaposes against that backdrop. And while it might have taken longer to get to the point we’re at now than I had originally imagined, I love the direction our garden is going and how it’s growing into styles I love.
Step 1 : Demo Almost Everything
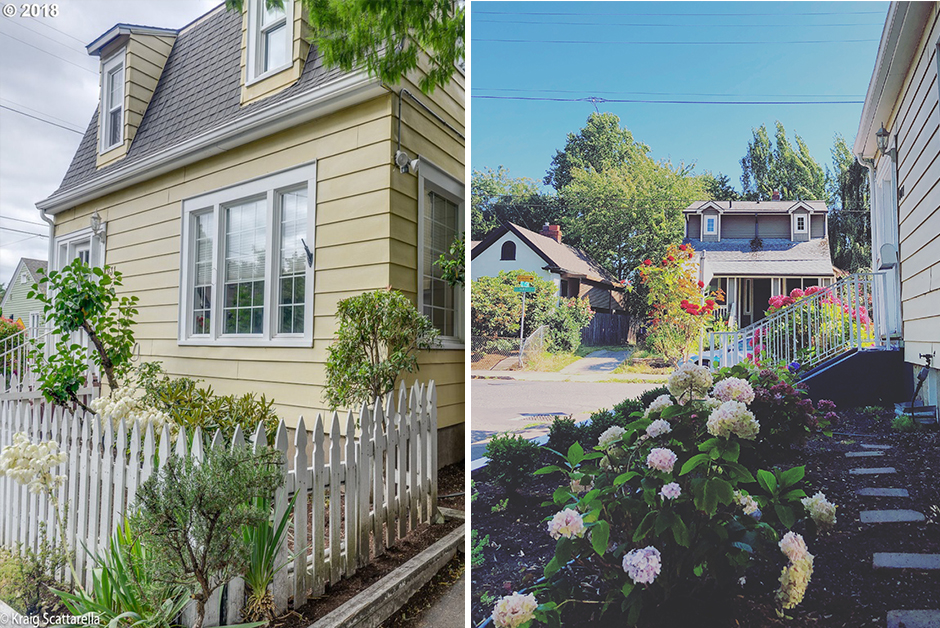
One of the first things I had done when we moved into the house in August of 2018 was to have a landscape company come out and pull out almost everything in the yard, front and back. The front and side yards of our house are small sections of planting in a raised wood retaining wall. In the front, I had everything ripped out. In the side, I left a large hydrangea bush and 4 mature rose bushes… everything else was pulled out and trucked away.
In the back, I had everything taken out except for a mature blueberry bush that we kept. We have a small patio out back and a small planting area which was a complete jungle. You couldn’t even get back to the end of the property because it was so overgrown. For that entire Fall and Winter, we left the yard basically empty and didn’t start tackling projects outside until the following Spring.
Step 2 : Take down the Picket Fence and Lay Out a Plan
Once February rolled around, we spent the month tackling the demolition of the existing wooden picket fence around the whole exterior of the house. While it looked cute from afar, the wood was almost completely rotted and it looked terrible up close, as well as making it really hard to get in and do any maintenance inside the area. It took a few weekends of work but we eventually got it all out and disposed of.
Next we laid out a plan for the space now that we could see it empty without the fencing. My primary goal was to have an organized layout but with a little bit of a “wild” feel with the plantings. We laid out a plan for what plant types might go where and I did a whole bunch of research for what types of plants would work for our location but also give me the aesthetic that I wanted.
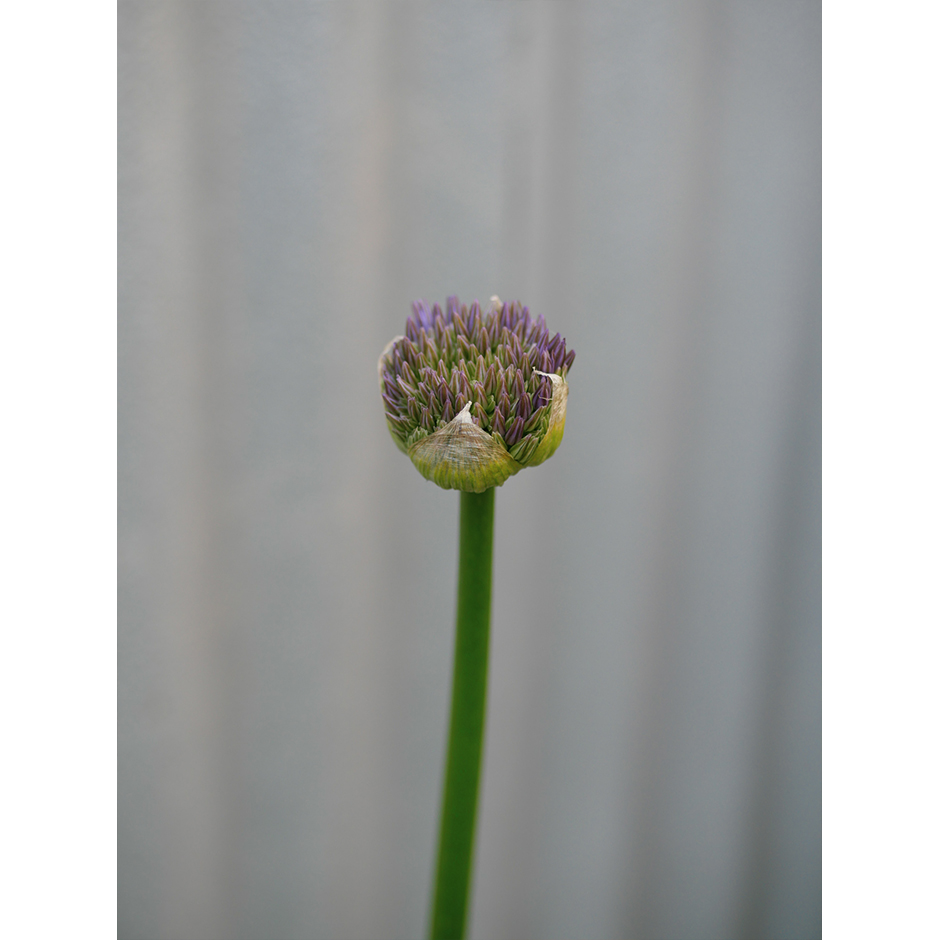
I also came up with a plan for color that I wanted in the whole garden, front and back. I ended up going with deep pinks and purples as my color scheme, so I went with plants that come in those color ways like Lavender, Alliums, Hyacinth and Hydrangeas.
Step 3 : Buy the Plants and Get Planting
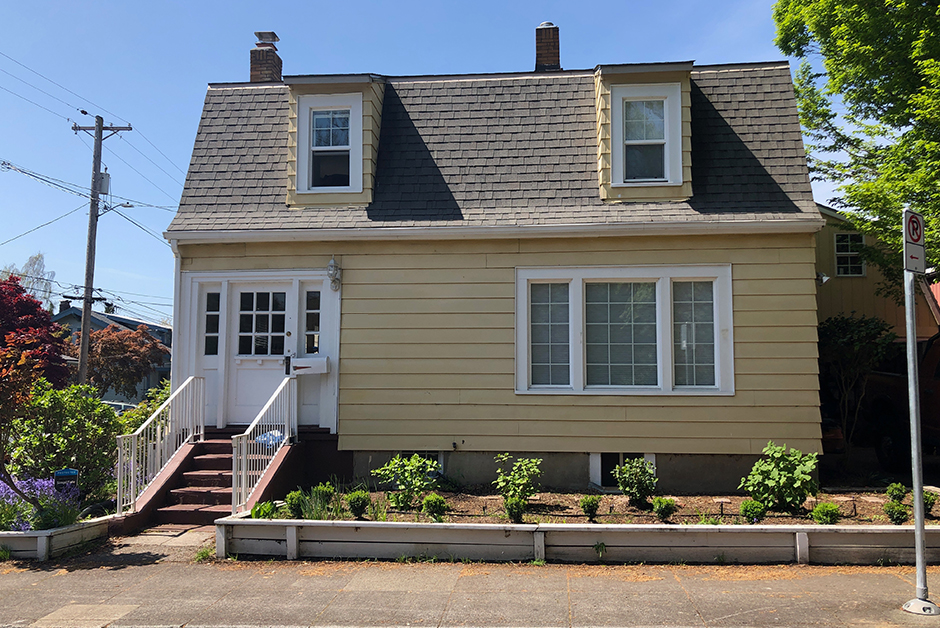
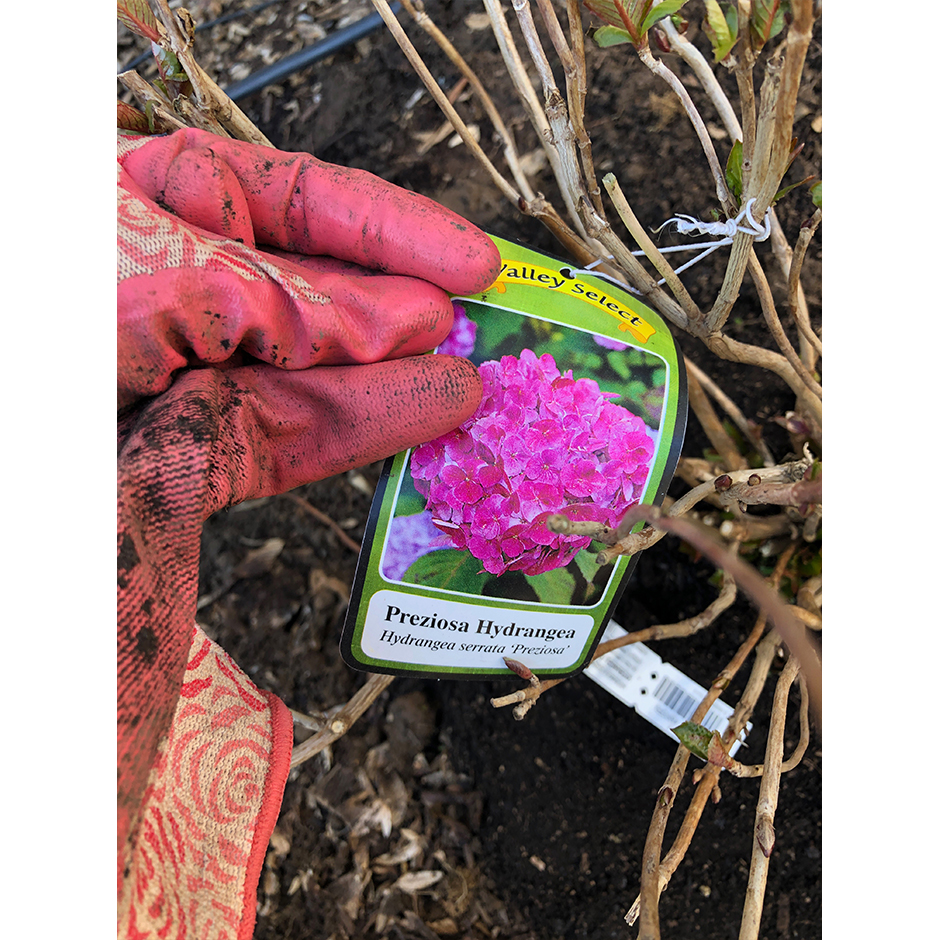
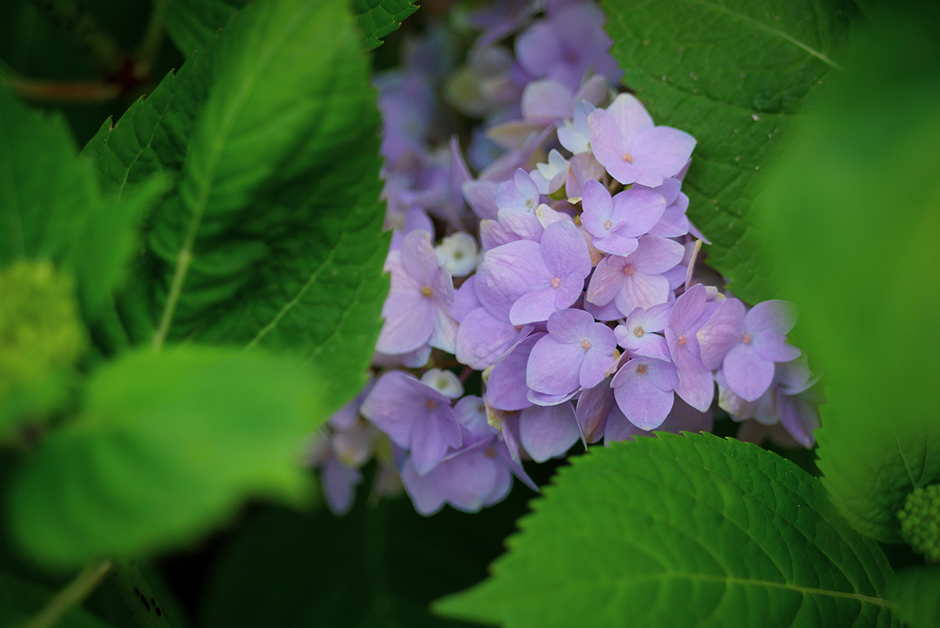
Once the weather warmed up a little bit in March, we headed to our local Portland Nursery for the plants we had decided upon. In the front, we did a row of 4 hydrangeas and a border around the front and side of the bed with boxwoods. Eventually, the hydrangeas will start to grow together and form an organized but a little bit wild layout in the front yard against the house. The boxwoods bring a nice barrier without adding fencing and eventually when they get bigger, we’ll keep them a little rough in a round cut.
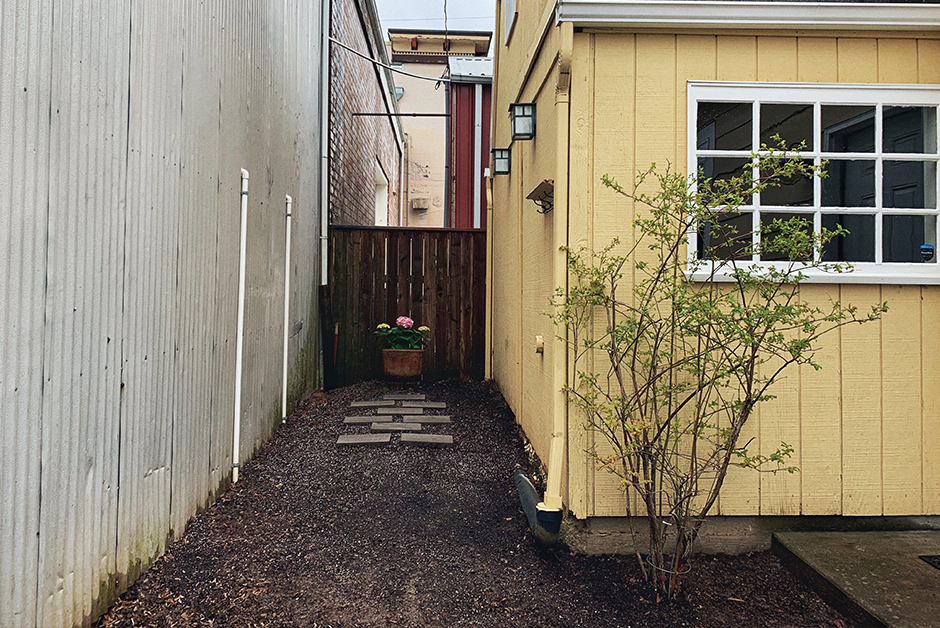
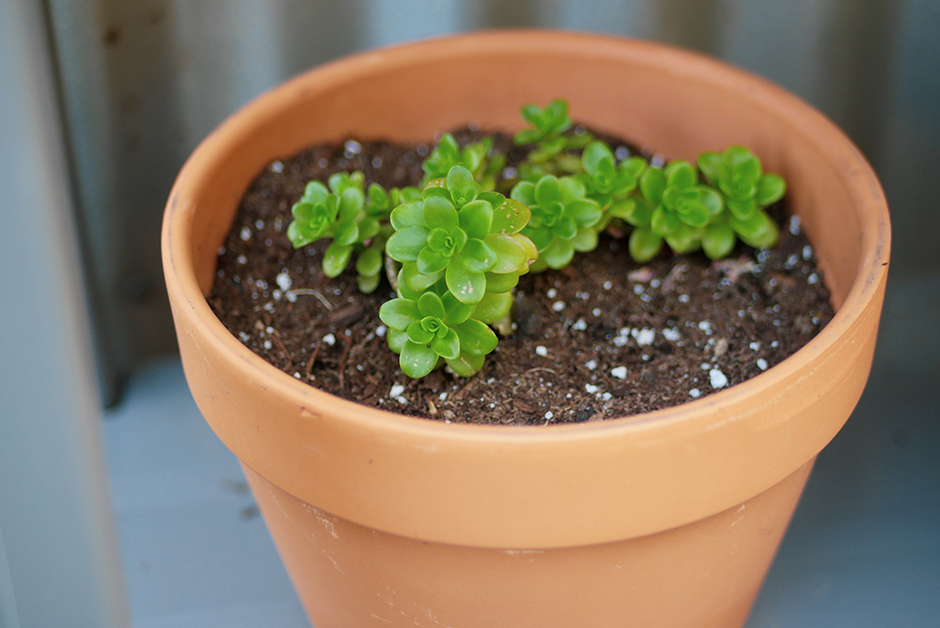
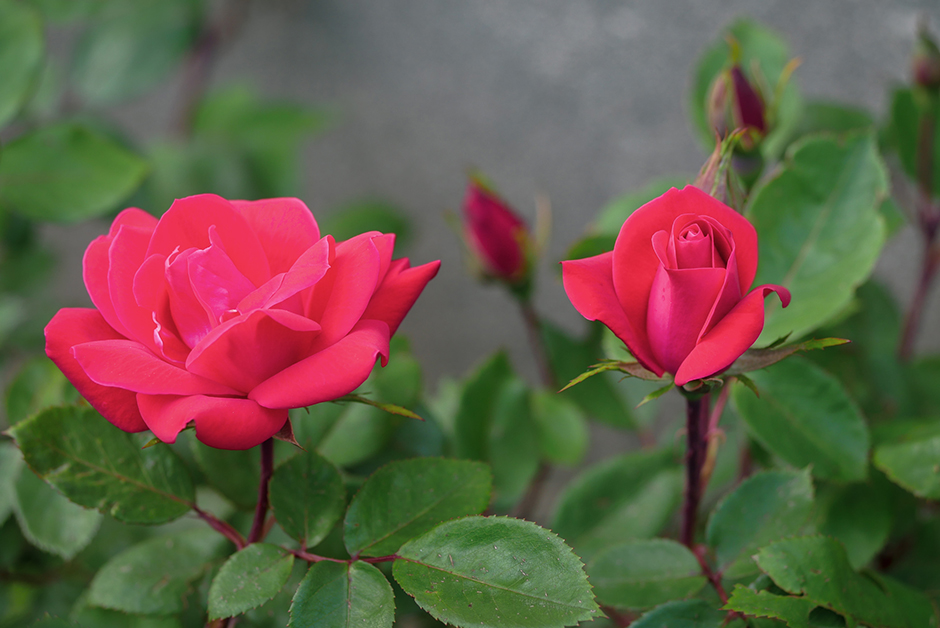
On the side, we had kept a large hydrangea and four roses, so we laid out plants around those mature plants. We continued the boxwoods down the border but on this side we let it grow a little more wild, filled with ground cover and succulents that grow naturally there and then toward the back, large bushels of lavender and a newly planted Columnar Apple Tree slowly merge the “New England” front to the more “Provencal” backyard.
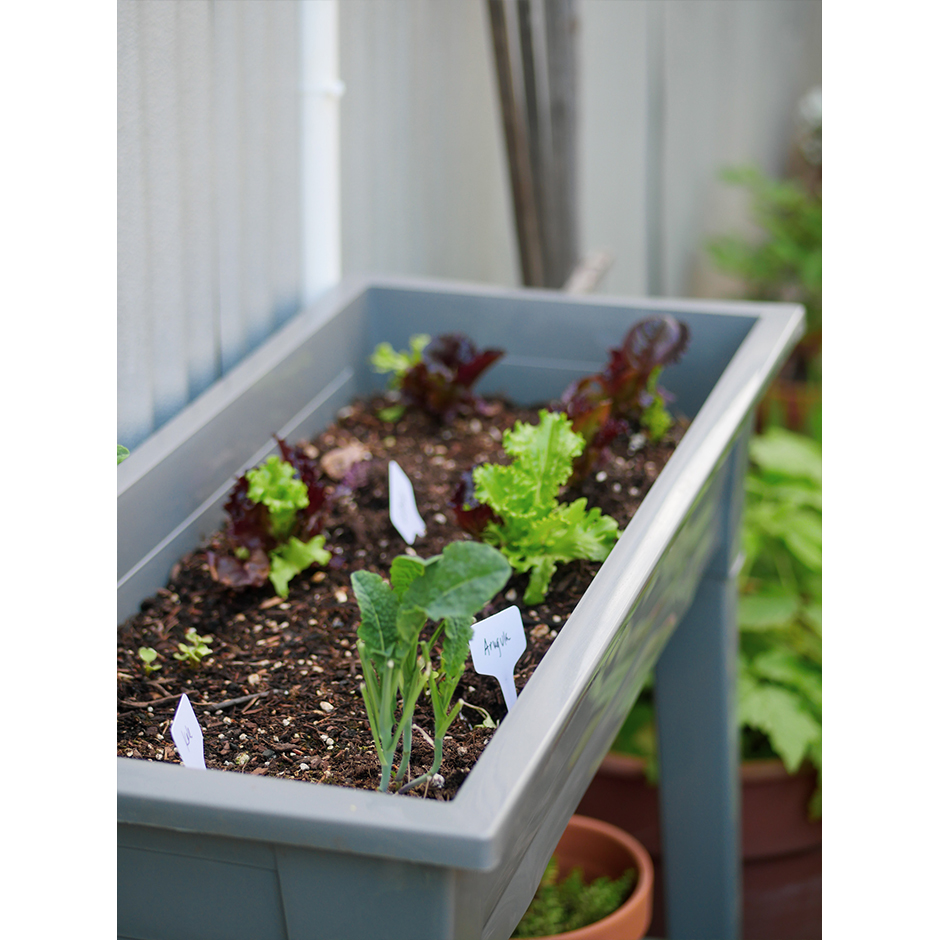
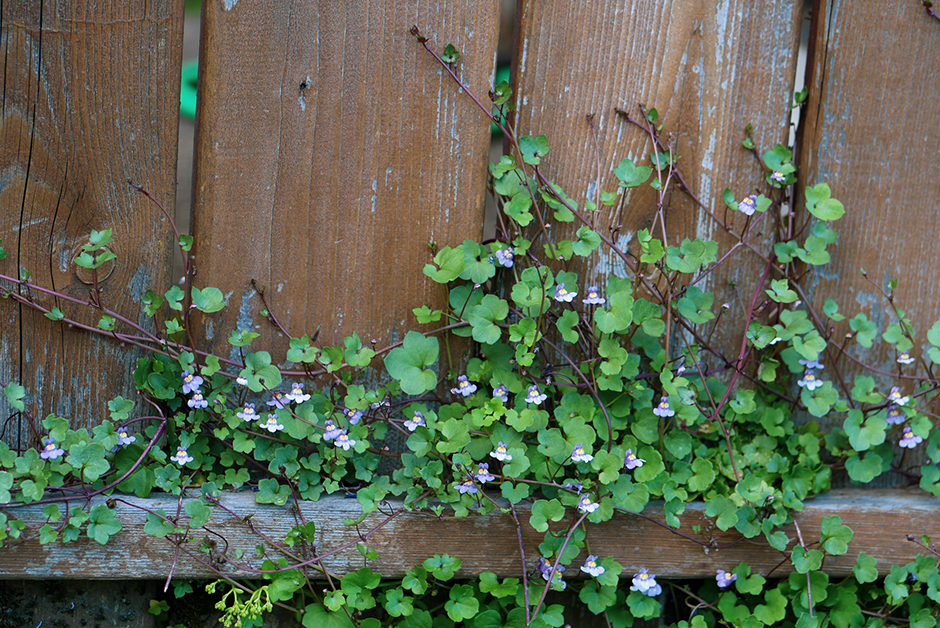
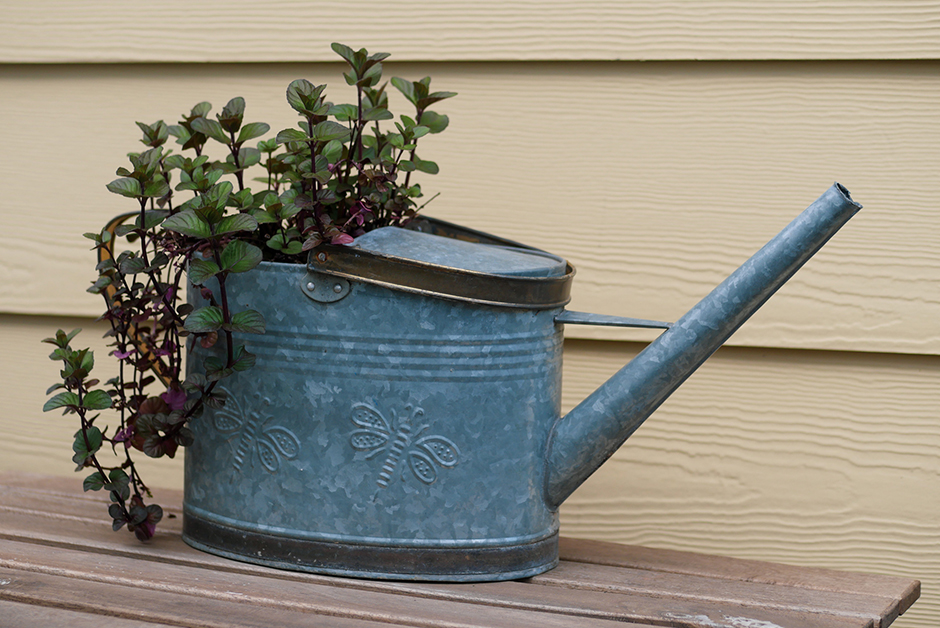
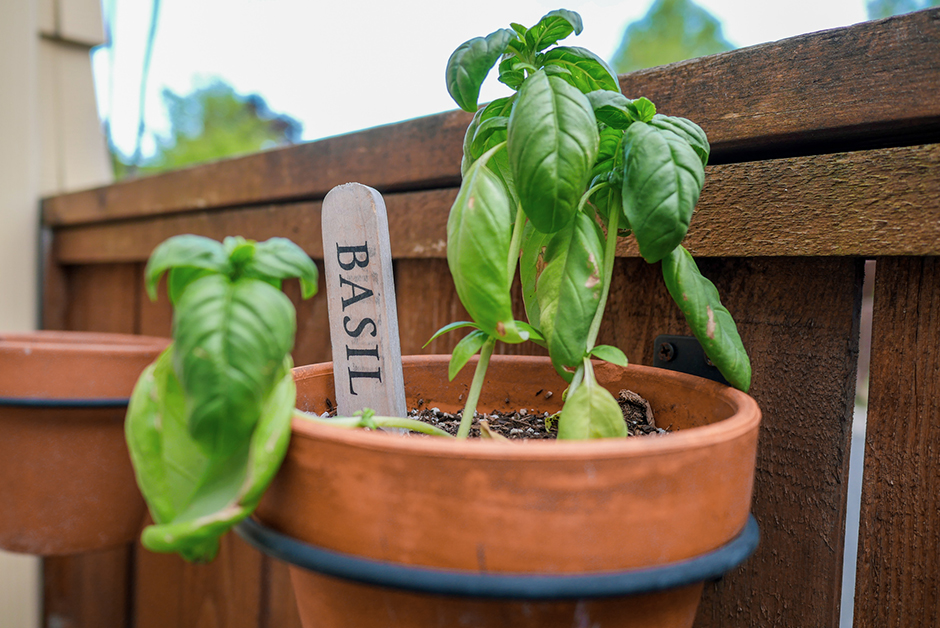
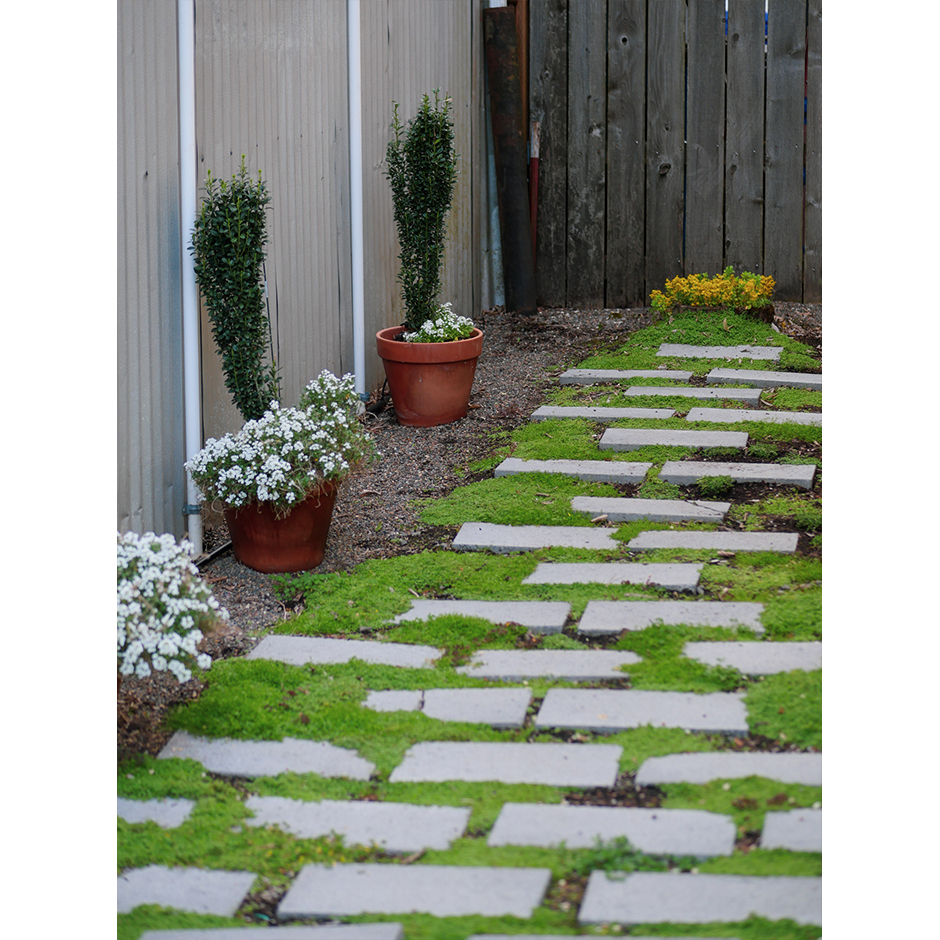
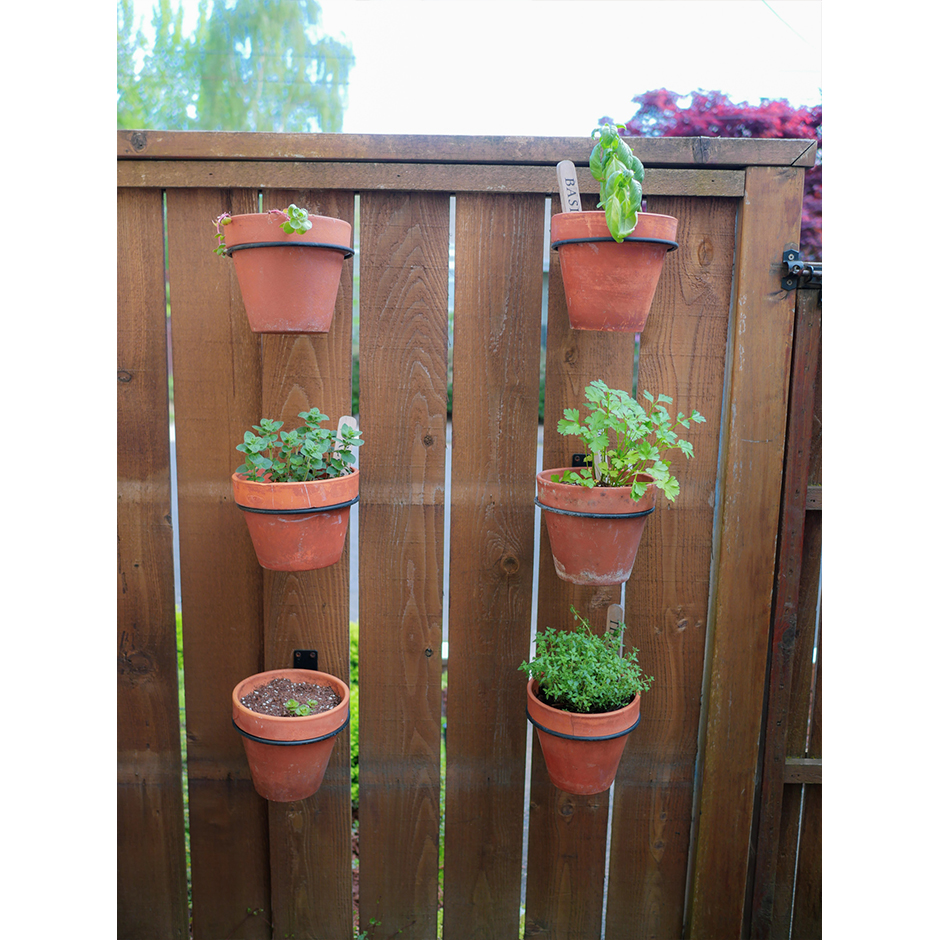
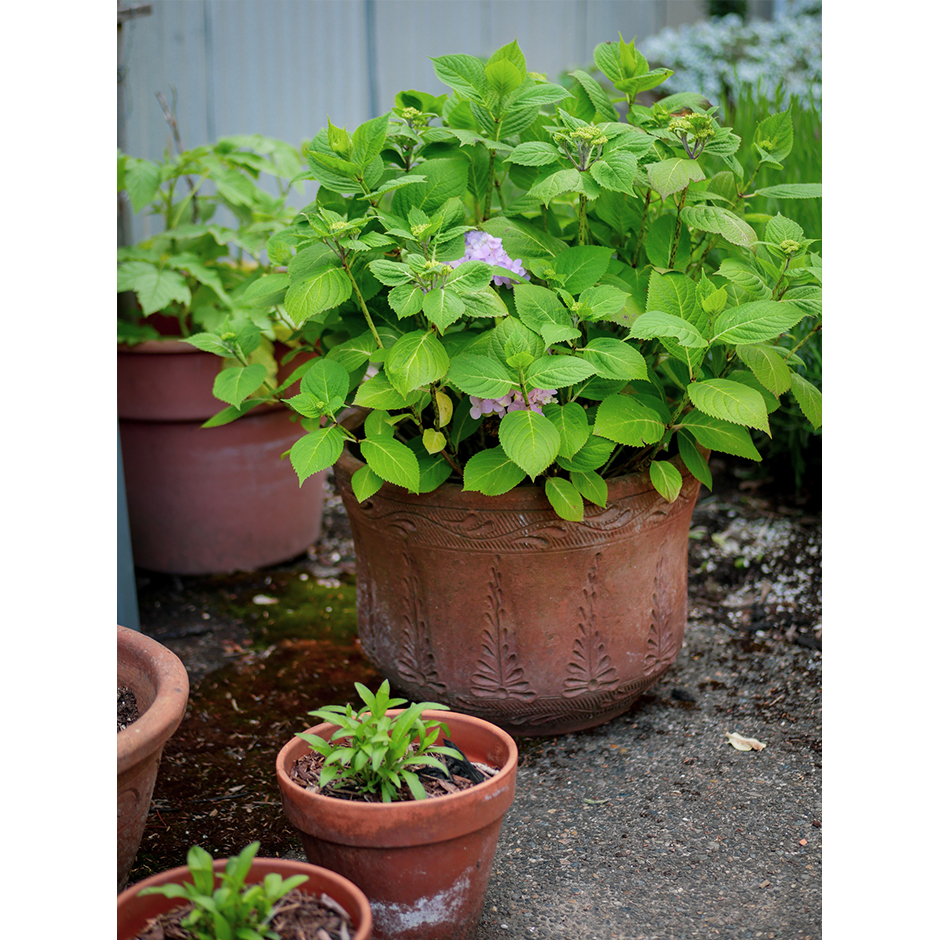
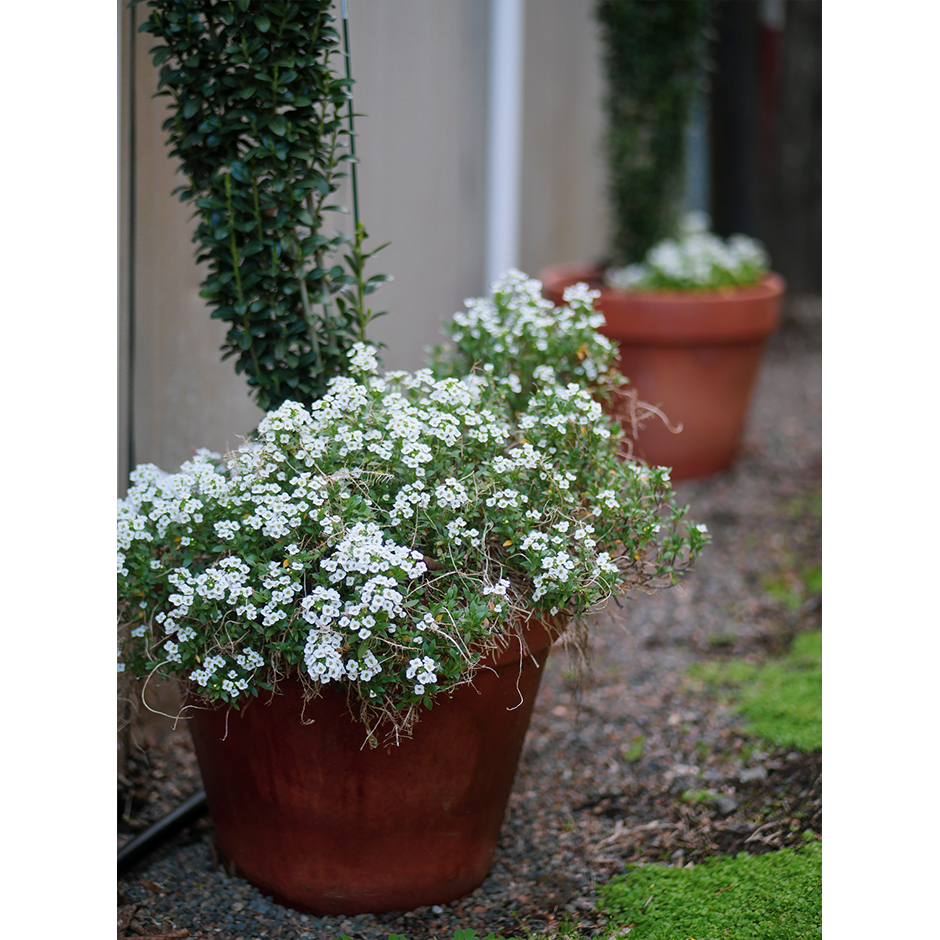
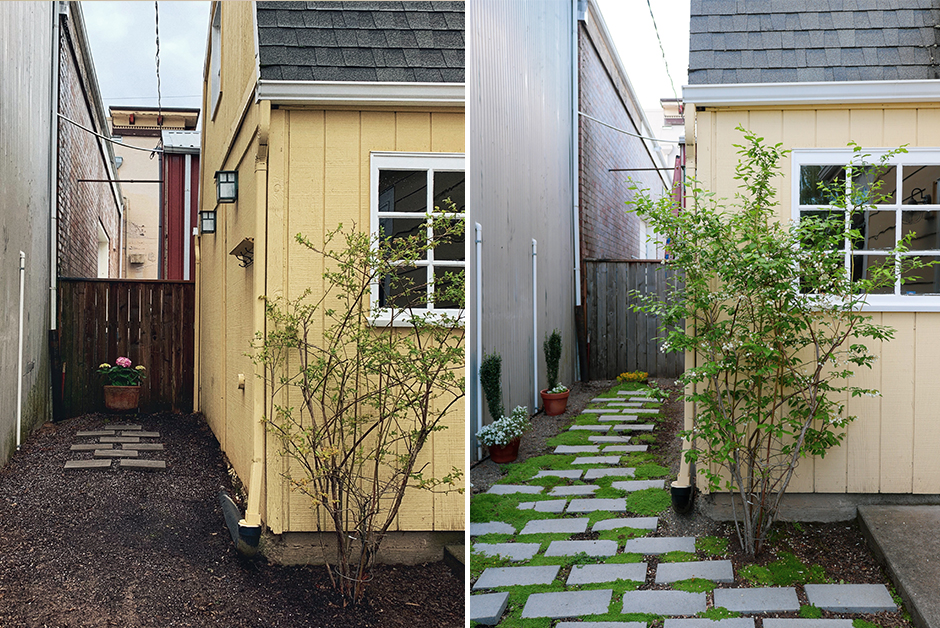
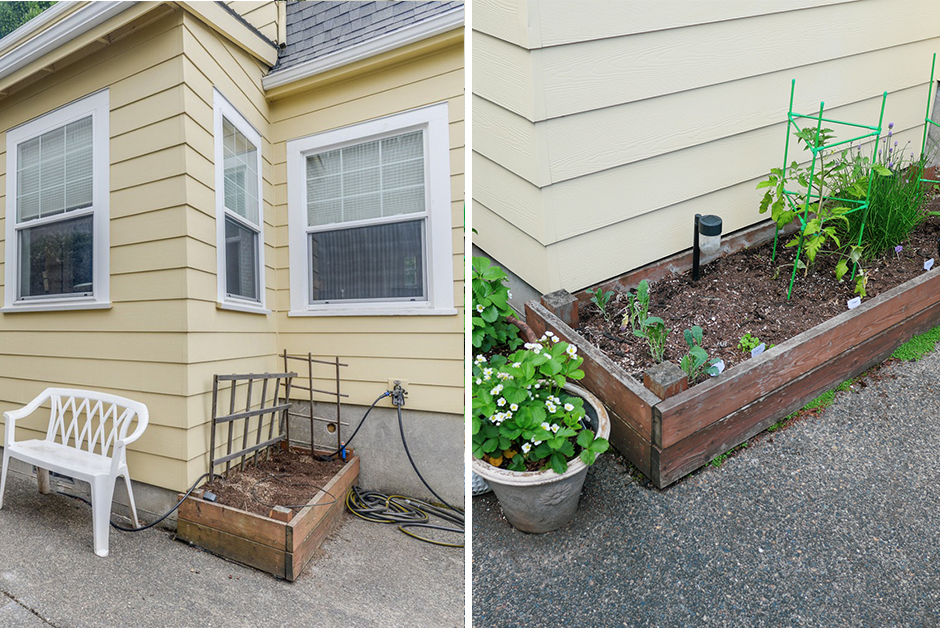
From the side yard, you can enter our backyard through a gate and as you enter, I wanted it to feel like a little French Oasis. It’s not a huge backyard space but we wanted to make the most of it. In the entry area from the gate, a raised bed that was already there is now filled with vegetable plants. I added an herb wall in that space as well and an outdoor table and chairs to enjoy the space. In the planting area, we used the long back section behind the house that doesn’t get a lot of sunlight as another patio space that we laid pavers and filled the creases between then with Corsican Mint that has grown in so beautifully over the last year and has the most amazing aroma. Pea Gravel lines the sides of the space creating a very South of France feel and large bushels of Provencal lavender create an intense aroma back there. Terra cotta pots that have been antiqued over time in the outdoors are filled with Hydrangeas, Rosemary and Chocolate Cosmos to add color. Overall, our backyard feels like a little escape in the middle of the city and I absolutely love what we’ve created back there. The only original plant we left in the back was the large mature blueberry bush that was there when we moved in and it’s amazing to have fresh blueberries each Summer.
I also really got into growing food in the backyard and have strawberry, raspberry, tomato and bell pepper plants. As well as growing lettuces and kale, I’ve fallen in love with gardening and growing food that I can actually eat.
Step 4 : Ongoing Maintenance and Future Projects
After doing the majority of our garden renovation project last year, this spring it’s been all about maintenance and small changes. We took a look at what didn’t work so great last year and changed a few things this year to adjust layouts and plantings. We’ve also done some plant maintenance this Spring like pruning and clipping back bushes that got a little big last year. We also laid mulch down to help with weed control and help retain moisture, as well as just general yard cleanup this Spring. We also realized that we prefer the perennial plants over annuals and haven’t bought any annuals this year as it’s so much easier to just keep plants that will keep coming back year after year instead of spending the time and money replacing them each Spring.
While I feel like we’re about 90% of the way there in our yard for what I envisioned originally, we definitely still have a few future projects we’re looking at doing. First, the wood retaining wall isn’t in great shape and while I painted it last Summer and it looks decent, I think we eventually might need to replace it. I would love to redo it ourselves and do a white brick wall, but we will see on that project as it will be a big one! I also would like to add more gravel and refinish the table in the backyard, as well as replacing all the exterior light fixtures to match each other.
Overall, our garden renovation has been a labor of love. On one hand, I’ve never worked so hard physically and hurt so bad after weeks of work in the garden but on the other, I’ve fallen in love with it too. It’s so nice, specifically right now during the pandemic, to have an exterior space, one that I’ve created in the image that I wanted when we moved in. I’m sure there will be many garden projects down the line still but for now, I’m super happy with what we’ve designed and brought to life.
The Final Result
Before and Afters
Tips for Renovating a Garden
- Don’t try to rush it. Plants need time to grow and it won’t look how you envision right away. It took a solid year for my garden to start to look like I had envisioned it.
- Expect to get physical. My body felt like it was falling apart for months last year as we spent weekends working in the yard doing really physical labor. Just expect that and take lots of baths to rest your muscles!
- Have a plan but don’t let that hinder you. I had a plan for the yard going in and it evolved as we went and as we saw how stuff was coming together. It’s ok to let the plan guide you but be alright with changes as you go.
- Yards are expensive! Our yard isn’t very big and we still spent thousands of dollars renovating it on our own. Renovating a yard is going to be expensive however you do it so just be prepared for that.
Tools You Probably Will Need to do a Similar Project
These are the tools that we purchased before this renovation project and the items that I still use the most:
- A good quality Garden Hand Trowel
- Pruning Shears
- A Kneeling Pad
- Garden Gloves
- Mini Garden Shovel
- Garden Hedge Shears
- Plastic Bucket
- Garden Clogs
- Rake
Overall, I’m so incredibly happy with how our garden turned out and it feels authentic to our house as well as to the style I really love in a landscape. We’ve done everything ourselves for this whole renovation except for the initial demo of the existing plants. While it was a ton of work and we spent tons of weekends feeling like our bodies were literally falling apart, I’m so glad for the experience of renovating the garden ourselves. We learned so much and got to create a space that we love, all on our own.
