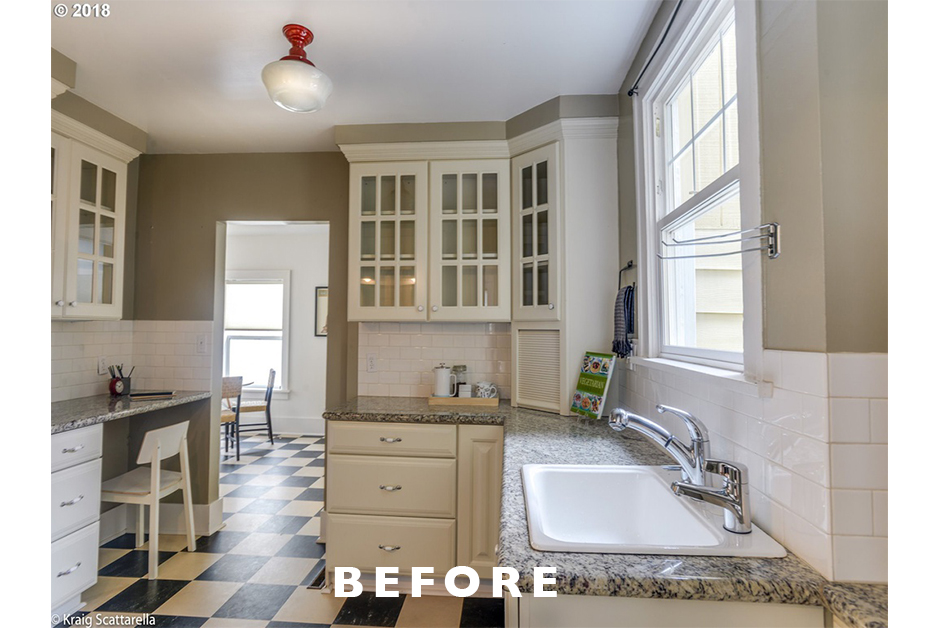
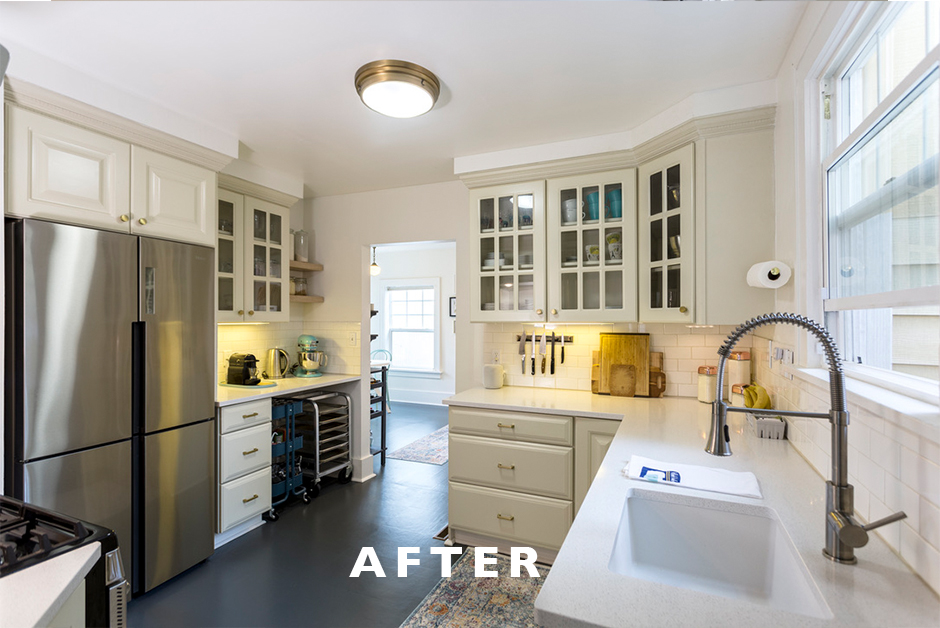
In my ongoing series about projects we’ve done at our 1925 Dutch Colonial house in Portland, today I’m discussing a project that was one of the biggest we’ve undertaken so far in our house flipping and renovation projects. When we moved in, I knew the kitchen needed an overhaul. First off, it was updated but had a 90’s style vibe and honestly, didn’t fit with the historic nature of the house at all. It felt totally removed from the style of the rest of the house and especially as we started renovating other rooms, it felt even more removed as time went on. We honestly didn’t do much to the kitchen right away when we moved in, other than paint the walls white, as they had been a tan brown that made the whole space feel really dark. I made the decision to not even invest in changing out hardware or anything until we made the decision on the direction we wanted to go eventually with the kitchen renovation. Renovating a kitchen is time consuming, very expensive and not an easy project to tackle and we decided to hold off on it for about a year from when we moved in, to allow us to figure out what we really wanted to do exactly and have some time to save up for the renovation.
This house is not our forever home and we’ll sell it eventually, so we looked at the kitchen remodel from two different perspectives. The first was obviously to make it how we wanted it to be while we live here, to make it more aesthetically pleasing and more efficient for us in the short term. But the second perspective, and one we always look at in our homes, is for resale purposes. We have, over the years, flipped 2 properties and this will be our third when we eventually sell in the next handful of years. We buy, move in and renovate and then sell as part of our investment planning but also because it’s something we enjoy. So this house too will follow that plan eventually. Looking at the kitchen, we had to decide what we wanted to spend on it to renovate knowing that we won’t be here forever.
At first, I thought maybe we’d just gut it all and start over. But the more we thought of it and looked at prices for doing that, we realized that economically it didn’t make sense to spend over $10,000 to totally re-do it when we could make smaller changes for under $5,000 to get it to a point where we were happy with it and that would also help with resale down the road. So we took the second route and tried to keep costs down where we could. In the end, the kitchen is a million times better than it was, both for us and resale.
Step 1 : Make a Renovation Plan – What to Keep and What to Get Rid Of
To start, it’s vitally important when renovating a kitchen to make a plan. Answer questions like what are we getting rid of and what’s getting replaced? Are you changing out all the hardware? Are you getting rid of cabinets or keeping existing? Are you painting? Are you changing the layout? There are endless things you’ll want to discuss and make sure you know exactly what you want to do. Granted, some of those things might change as you go but at least have a clear picture of what you want to do before you get started.
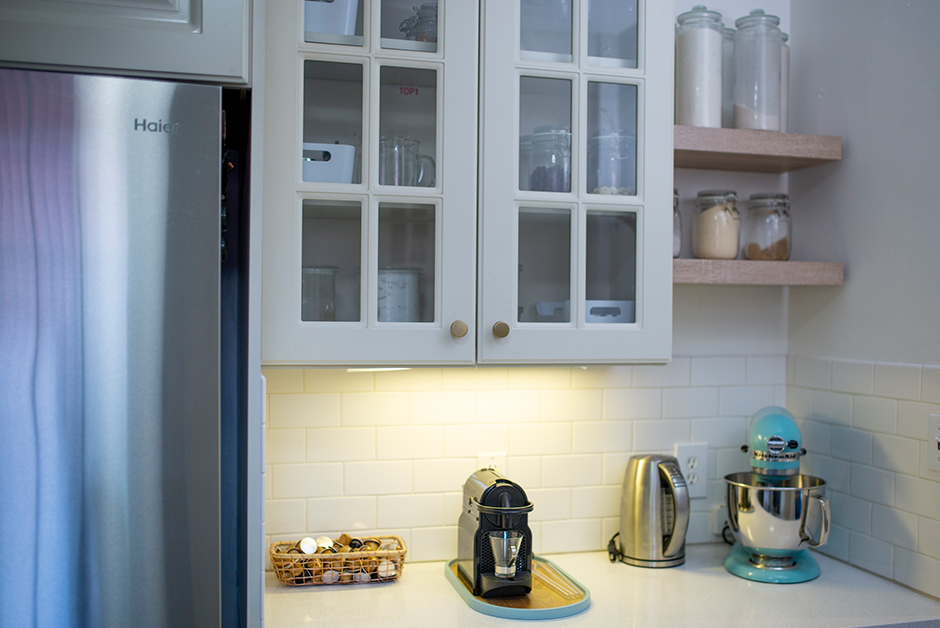
In the beginning of our renovation, I wanted to remove the wall cabinets and replace them with open wall shelves. And while I loved that idea, it didn’t end up becoming a reality due to a few different reasons once we started the renovations but even with that plan in mind, I was able to change it just a bit and still get some open shelving. So be flexible as you get going, but keep your plan in mind.
Step 2 : Price Everything Out and Hire Help
After I had a plan in place, I started pricing everything out. We decided to do the following renovations:
-Keep the Cabinets but replace the hardware
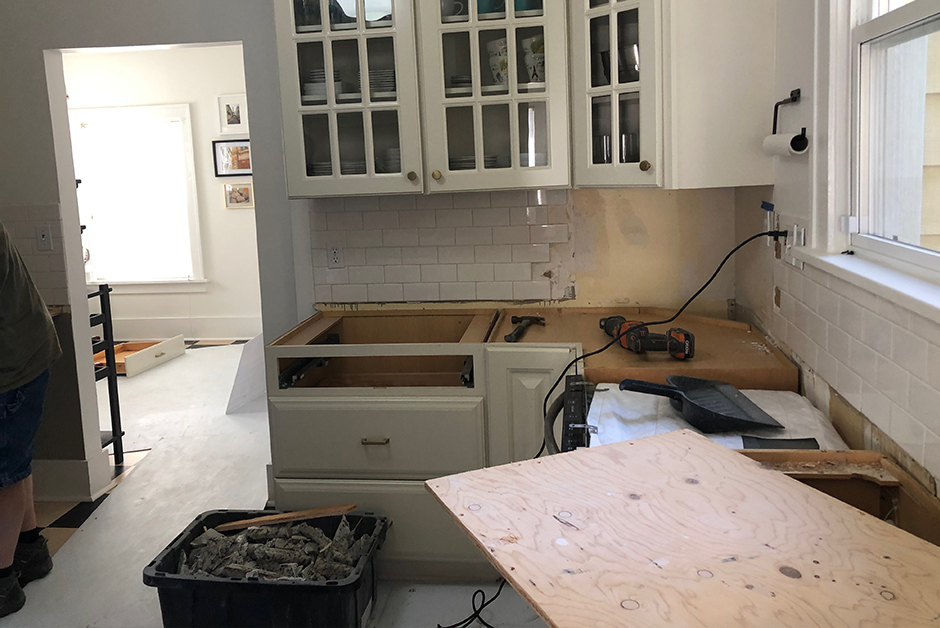
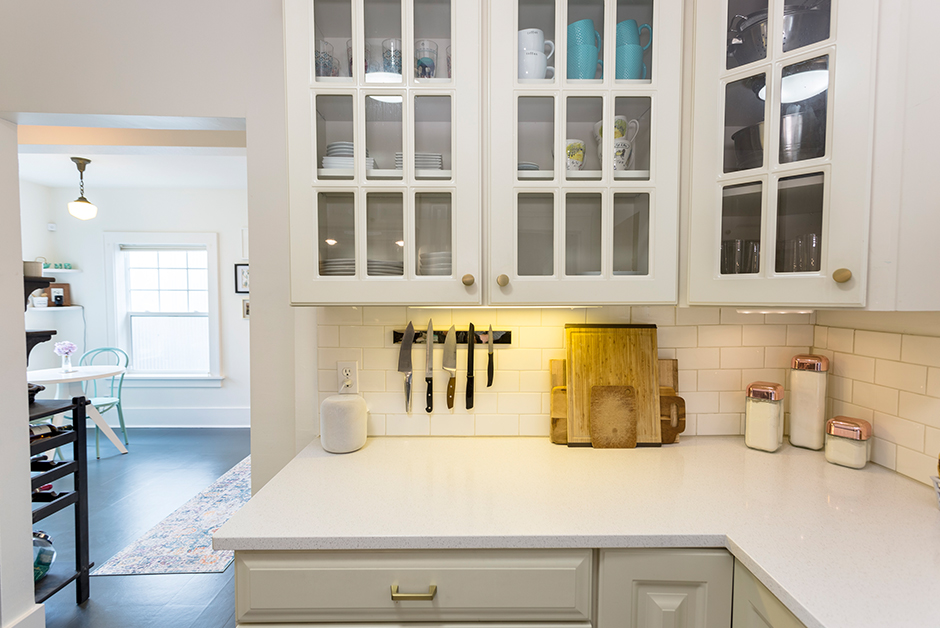
-Remove bread box cabinet in the corner to gain more counter space and add tile to empty wall space once removed
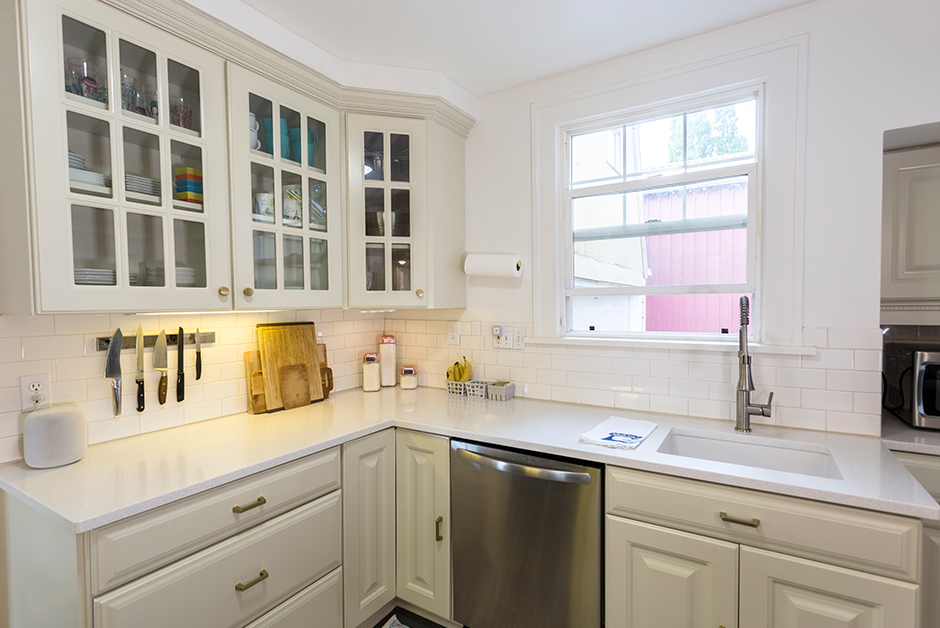
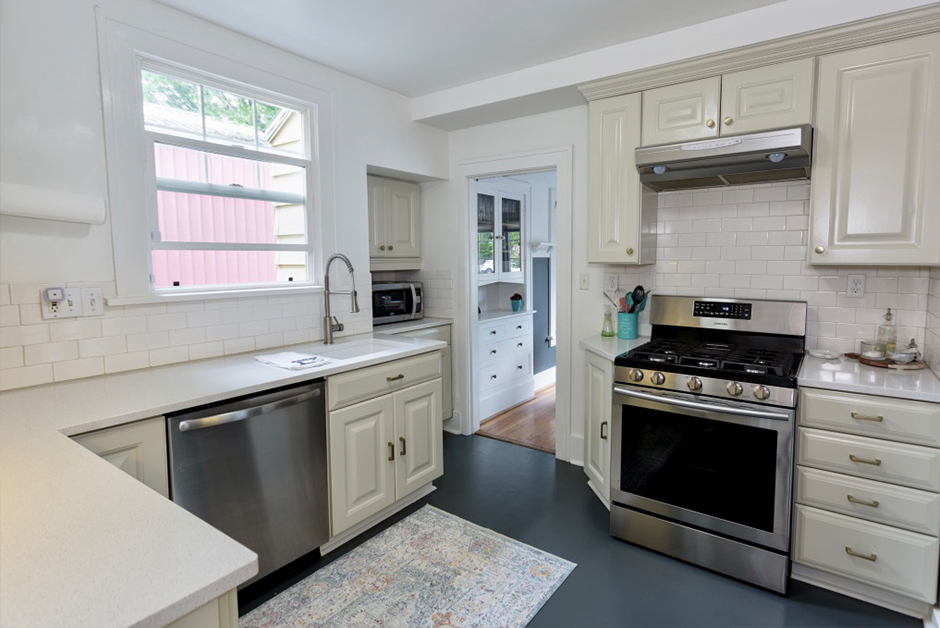
-Replace the existing black and white granite countertops with a white Quartz solid surface
-Replace the over-mount sink with an under-mount and new faucet
-Replace all appliances (Dishwasher, Refrigerator and Range) with stainless steel versions
-Re-route a few electrical outlets behind the range for cleaner lines
-Replace the light fixture
-Replace towel racks and miscellaneous items as well as install new magnetic knife rack
-Replace the flooring (we ended up doing a DIY on this)
-Add floating wall shelves in an empty nook area
Once I had my list of projects that we were going to tackle, I started pricing everything out. Some of it we could do ourselves but other things would need to be done by a contractor or electrician. In the end, we ended up spending right around $5,000. We did end up waiting on some of the items like replacing the refrigerator until months later so some money has been spent at other times throughout the time we’ve lived here, but ultimately, we made a pretty big change aesthetically for at least half of what it would have cost had we gutted the kitchen and started from scratch.
It’s important when doing a renovation to hire help if you need it! Don’t do things you don’t feel comfortable doing and if you need advice, I actually offer Design Services for really inexpensive prices through my Design company. Check out the packages I offer and if you’re interested, feel free to reach out!
I ended up hiring a contractor that I’ve worked with a lot as well as electricians as part of our renovation and I’m so glad I did. They ended up being huge helps on the things we couldn’t do ourselves and even though their cost might seem high, it’s well worth it to have those items done correctly.
Step 3 : Figure Out What You Can Do Yourself to Save Money
There were several parts of the kitchen renovation that we did ourselves that saved us a decent amount of money in the end. I’m a believer in DIY when it makes sense and when you have the time and ability to do it. If you don’t, hire someone to help.
These are the things we did ourselves in the kitchen renovation that saved us money:
-Replaced all the hardware on the cabinets ourselves – this only requires a screw driver or a drill
-Painted all the walls – I’m a big believer in painting in my homes as it’s an easy project that costs a lot of money to hire someone else to do
-Tiled the walls behind where the bread box used to be – I learned to tile on my own and it’s surprisingly therapeutic! It’s easy to learn and well worth doing yourself to save money. I simply matched the subway tile that was already there and found a grout in a similar shade and went to work.
–Painted the Linoleum floor tiles
–Painted the existing Range Hood stainless steel instead of replacing it
Step 4 : Keep a Schedule for When Work is Happening and Stay on Top of It
Renovating a kitchen can take a long time depending on how much work you’re doing. It’s really important to stay on top of the renovation schedule and make sure work is happening when and where it should be. Contractors and other people like electricians need management in a large project to make sure they’re doing exactly what you want. Communicate and make sure everything is running the way it should be.
You’ll also need to be making decisions on the fly so be available for questions and be able to adjust as you go. For example, we discovered an issue with the ceiling when we took the wall cabinets off to replace them with floating shelves and it was going to be such a huge hassle that we ended up just putting the wall cabinets back. We also had to make a change on our Quartz countertop which I had originally thought of doing in a marble pattern but ultimately ended up going with a crystal look instead due to cost and availability. Things will always come up during the process so it’s important to manage the project throughout and keep track of when everything is happening.
The Final Result
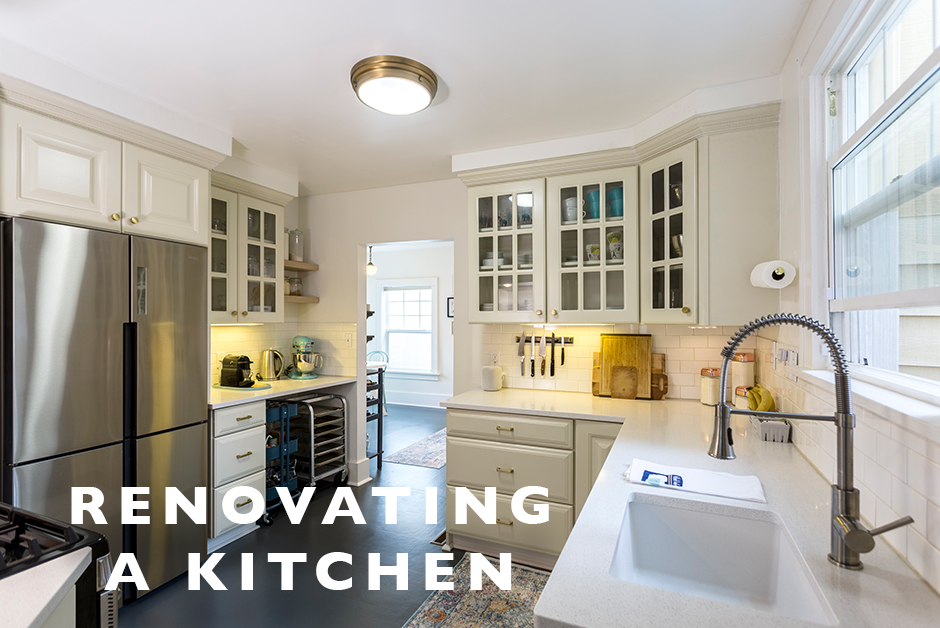
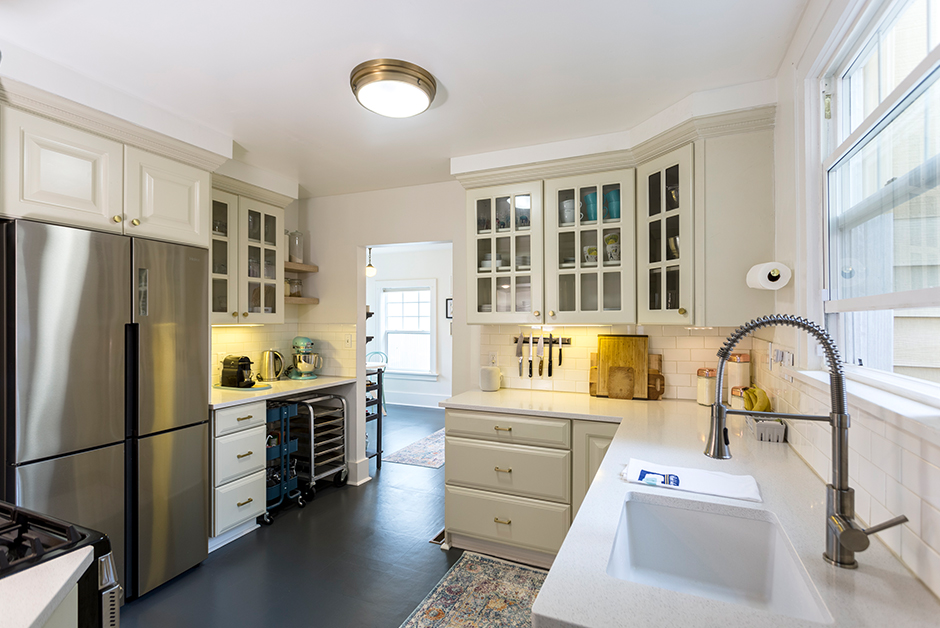
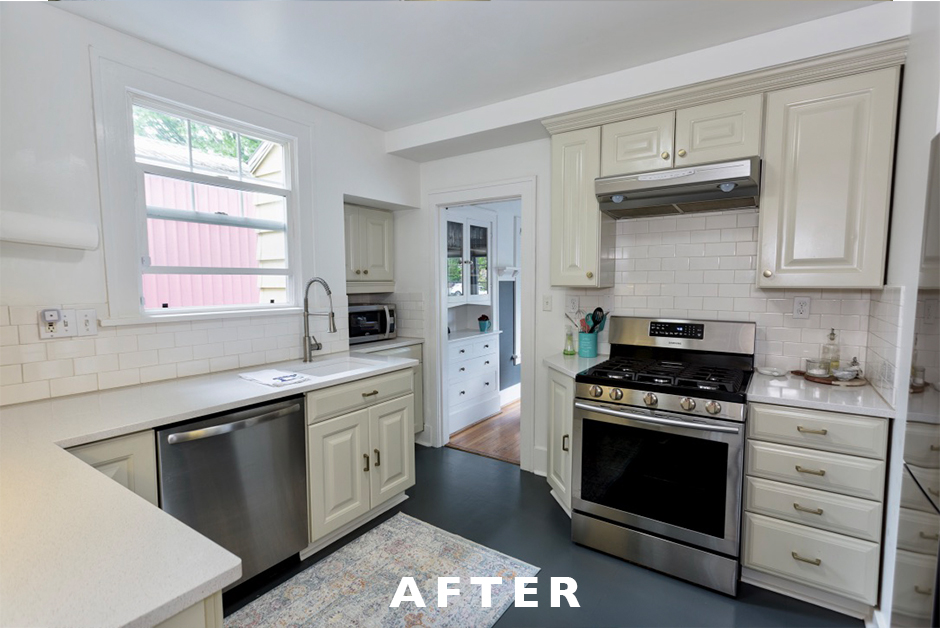
Ultimately, I’m so happy with how our kitchen renovation turned out! It’s not my dream kitchen but it’s also much more of a showpiece in the house now than it was. It matches the rest of the home, it’s functional (way more so than when we moved in) and it’s actually a space I enjoy being in now! Plus it will be so much better for resale and it feels timeless to go with the house aesthetically but also modern and updated – the best of both worlds.
Before and Afters
Tips for Renovating a Kitchen
- Be clear about what you want – in both style and layout.
- Be flexible as things come up and make decisions as you go quickly so as not to waste time and money.
- Do as much as you can yourself to save money but also know that certain things will need to be done by professionals.
- Use a designer as a resource if you feel uncomfortable taking on a project like this.
- If you want to try your hand at some of the DIY projects we did in this space, here are other posts I’ve done on the specific things we used:
Items We Used in the Space
These are the detail items that we bought and installed into the space if you like any of them for your own Kitchen Renovation:
