
As we celebrate Christmas this year, I wanted to wish all of my lovely readers a wonderful and joyful holiday! May we be grateful for what we have and hopeful for where we’re headed! Merry Christmas and Happy Holidays!

As we celebrate Christmas this year, I wanted to wish all of my lovely readers a wonderful and joyful holiday! May we be grateful for what we have and hopeful for where we’re headed! Merry Christmas and Happy Holidays!

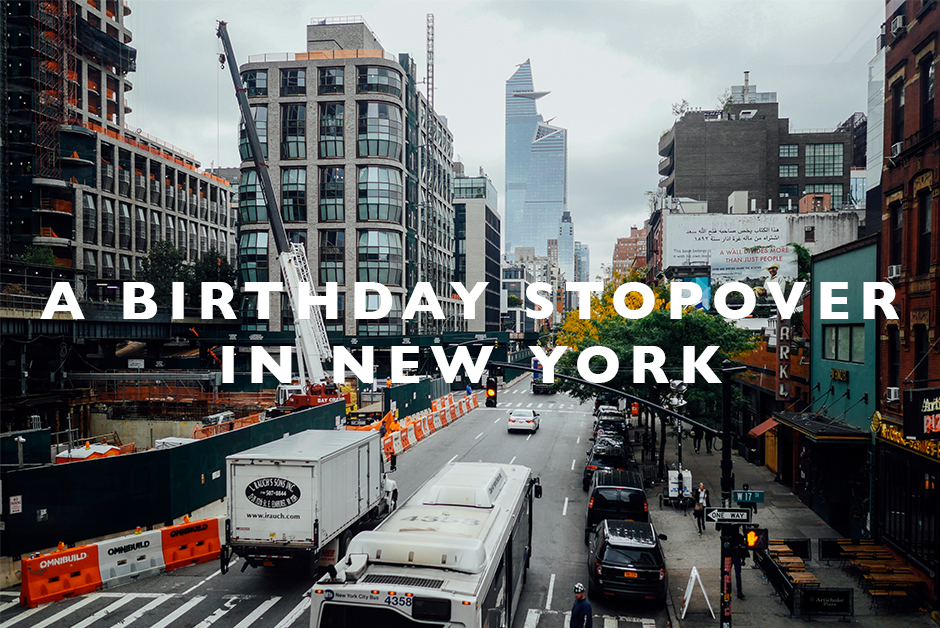
I seriously can’t believe it’s mid-December already! And I know I say this every time I write one of these life update posts but seriously, this year has flown by. I figured it was high time to catch everyone up again since my last one of these Life Update posts was in September which seems so far away now. Anyways, life has been busy! And now that we’re in the Holiday season, it feels even busier. I’m writing this from Seattle, where we are at the moment for Nick’s work Christmas party, then home to host family at our house this weekend and then lots of travel on the horizon. So here’s what I’ve been up to!
It truly feels like October, November and December were non-existent. We’ve been on the go a lot these last few months and work has been extra crazy for both Nick and me which has added a lot of stress from trying to manage everything. Nick has also been traveling a lot for work these last few months and we’ve had a lot of lingering stuff on the family front, so truthfully, the last few months have been pretty chaotic.
Partly due to my hectic schedule, I’ve also made the personal decision to close my macaron bakery as of the end of this month. I started the company at the beginning of last year and after a year in business, I realized that it was time to follow my heart back into design, the career I’ve been pursuing for ten years. I’ve kept my Interior Design business, Reverie Design Studio, the entire time and while I cut back on design work to start my bakery this year, I realized throughout the year that my heart is still really in design and I would rather pursue that full time. The bakery was always meant to be a passion project, to try something I’ve always had an interest in and I’m closing the business with a profit made, no debt and amazing lessons learned. I’m really looking forward to getting back to baking for myself again and I feel totally at peace with my decision. I’m looking forward to the new year and diving back fully into design! So if you’re in the Pacific NW and need an Interior Designer (or know someone who does), send them my way!
And PS – I’d love for you to follow my design company on Instagram!
After my birthday trip in October to Vermont and New York, we came home and jumped right into a number of trips up to Seattle for Nick’s work. In November we ended up going to spend Thanksgiving with family in Southern Oregon. We were originally supposed to go to Spain over the holiday but our flight got canceled and due to a couple of other issues, we decided to cancel the trip. Then we planned to go to Vancouver BC as a backup, but after driving North to Seattle so many times in the last couple months for Nick’s work and dealing with the intense traffic in that area, we opted to postpone that trip and go to see family for the holiday instead. We’ll try to fit in a long weekend up North in Vancouver BC sometime next year instead.
We’re in Seattle again at the moment and we’ll head to Hawaii for Christmas with my parents which I’m hoping is a relaxing and slow week to decompress a bit after a hectic few months. Following our trip to Hawaii, I’ve had an opportunity come up to spend a week in Asia so I’ll be heading out to Asia directly from Hawaii and I’m so excited to explore an all new country to me… I’m trying to keep it a surprise so follow along on Instagram to see where I’m headed in a couple of weeks!
After I get back from Asia, we’ll head to Las Vegas in January for a “foodie trip” to Sin City, which we’ve wanted to do for a really long time. We’ll eat at all the amazing restaurants in the city and just take a little bit of a life break, filled with great food and wine. So lots of upcoming travel and I’m so excited for all of it!
We’ve slowed down a little bit on the house renovation as of late just due to our hectic schedules, but we’ve been doing a few little projects like painting and upkeep ourselves as needed over the last little bit. We’ll start up again in the Spring when we paint the exterior and do some garden stuff to finalize the outside of the house. So keep following along on my Instagram for that too!
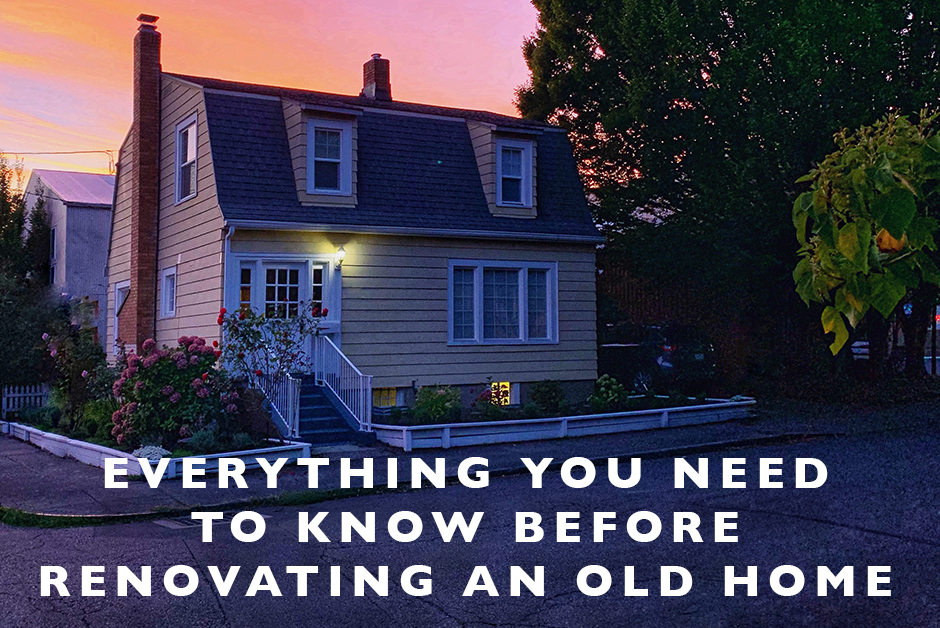
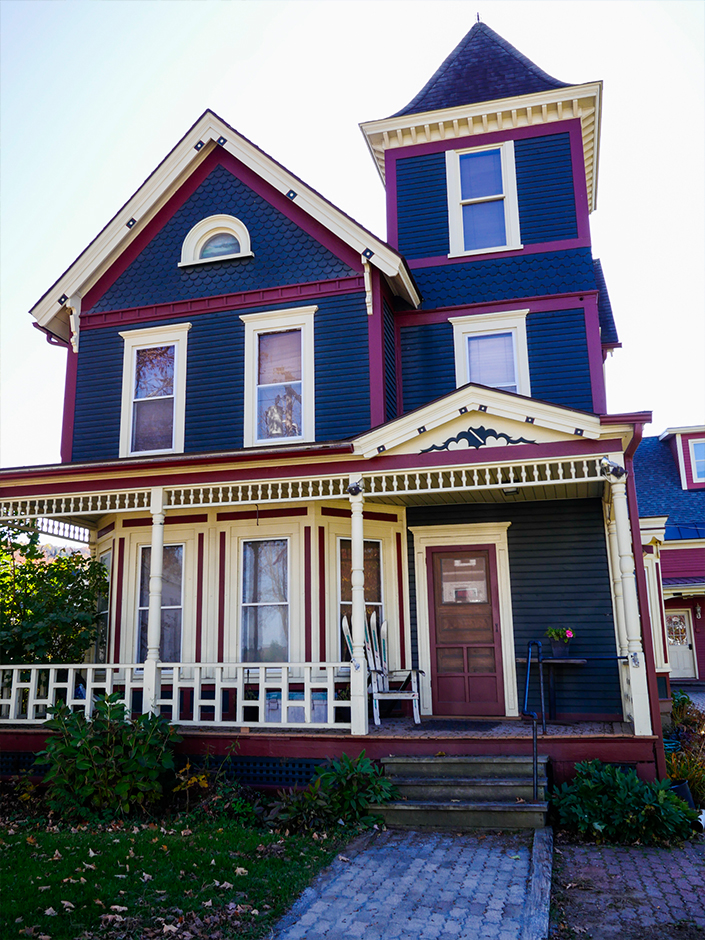
One of the things that a lot of readers have asked me over the past several months is to share more about the process of renovating our 1925 Dutch Colonial house that we purchased a year and a half ago in Portland. To be completely honest, the renovation of this beautiful old house has been both extremely fulfilling and completely overwhelming. It was always a dream of mine to renovate an old house and I’m so glad that we did this. And while I’m not sure how long we’ll be here (we’re thinking of selling in the next couple of years as we usually do after flipping a property), the process has taught us so many lessons! Some are things that I figured before we bought it, but some lessons were totally out of left field. Today I’m diving into everything you need to know before renovating an old house and some of the things I wish I would have known before we embarked on this adventure!
Truthfully, I’m in the design and construction business for my day job as an Interior Designer so I thought I had a pretty good foundation for what we’d be looking at when renovating an old house. But I still think that we romanticized the process a bit more than we should have and were a bit naive.
The first thing that I think is vitally important and one thing we did do, which I’m so glad we did, is be really careful when buying an old house. Make sure you get a really good inspection done before buying and that there aren’t structural or other really costly issues going in. And if there are, do your due diligence and figure out how much that is going to cost to fix before you sign on the dotted line. Some of those issues can be really expensive and will blow your whole renovation budget before you even get to live there.
We were really lucky in that even though our house was built in 1925, structurally it’s really sound and a lot of the major issues in old houses, like old siding and roofing, had already been redone before we bought it. That alone saved us thousands of dollars. So don’t go into it blindly and know that it’s going to be a lot of work and money either way, but you can save yourself a lot of heartache and money by doing your due diligence before buying.
No project we’ve embarked on in renovating this house has gone as expected. Every single one has brought with it new challenges, changes and fixes to other problems that arise while working on the first problem. You will learn you just have to go with it. And always expect something else to come up while working on projects.
Adding to the point above, every project you embark on will end up taking longer and more money that you expect when starting out. Each project we’ve tackled in our renovation has added a whole lot of extra time and money. From finding additional issues that take more time to solve or learning as you go and making decisions that end up changing the look or function of the space, you’re most likely going to have to add time and money to fix the issues that arise.
I’m not sure that there is a true straight line in our house and that’s typical of most older houses as these houses were being built entirely by hand. Our walls aren’t straight, flooring isn’t even. It doesn’t bother me so much, but some of this stuff really bothers Nick. You have to know going in to renovating an old house that nothing will quite match up or run straight and you just have to learn to be ok with that.
The one thing that I will take away from our time renovating this house is how much I learned. I learned to tile here, I learned to grout and scrape old paint and how to fill old wood floors (post on this coming soon!). I learned a ton of DIY skills in this house to help cut the cost and those experiences I’ll always keep with me, long after we sell this house down the road. I think the most important part of renovating an old house is to learn as you go, to pick up skills as you go. Old houses after all are the culmination of many different people updating them over the years, morphing them with their own hands and ultimately becomes a collection of a lot of different people. Learn as you go and hone your DIY skills as you go.
While I personally have a lot of DIY stuff in this house, I have also learned that some spaces, DIY isn’t the best and you should hire someone who knows that they’re doing. Things like electrical and demolition can be tricky in an old space. We’ve hired out for all of our electrical, plumbing and major demolition and construction work to be sure that we’re doing it right and not adding more issues to our already long list of things we’re trying to fix. It’s definitely worth the money to have the peace of mind when it comes to certain things.
I think the over arching lesson we’ve learned while renovating our house is that no matter if it’s old or not, house are a ton of work and you shouldn’t take owning a home lightly. On the surface it’s nice to have the space and a yard and a garage, but in truth, the more space you have, the more work it’s going to be. I hate in our society that the “American Dream” is to buy a house, because in truth, not everyone is in the financial or mental state to own a home. It’s a lot and you want to be sure you’re ready before jumping into it. I’m sure this won’t be the only home we own in our lifetime, but next time around, I would definitely downsize and look at different things than we did with our first house purchase. Be sure you’re ready before diving into the world of home ownership.

A lot of people remark to Nick and I that we often travel during times of the year they wouldn’t even think to travel. For years now, we’ve made it a habit to travel in the off-seasons instead of peak travel times like Summer and we actually prefer to travel when the weather is colder for a number of reasons. First of all, there’s lots of holidays in the Fall and Winter which we often use to supplement vacation days and for years now, we’ve traveled over the Thanksgiving Holiday to add more days to our PTO allowances. We also prefer to travel in cooler weather and would trade a cold vacation over a hot one any day. And finally, some places are just magical in the Winter around the Holidays or in the snow and it makes the trip that much more memorable. So if you’re in the spirit of traveling in the off-season too, here’s 5 of the best Winter travel destinations we’ve been to and when I recommend you going.
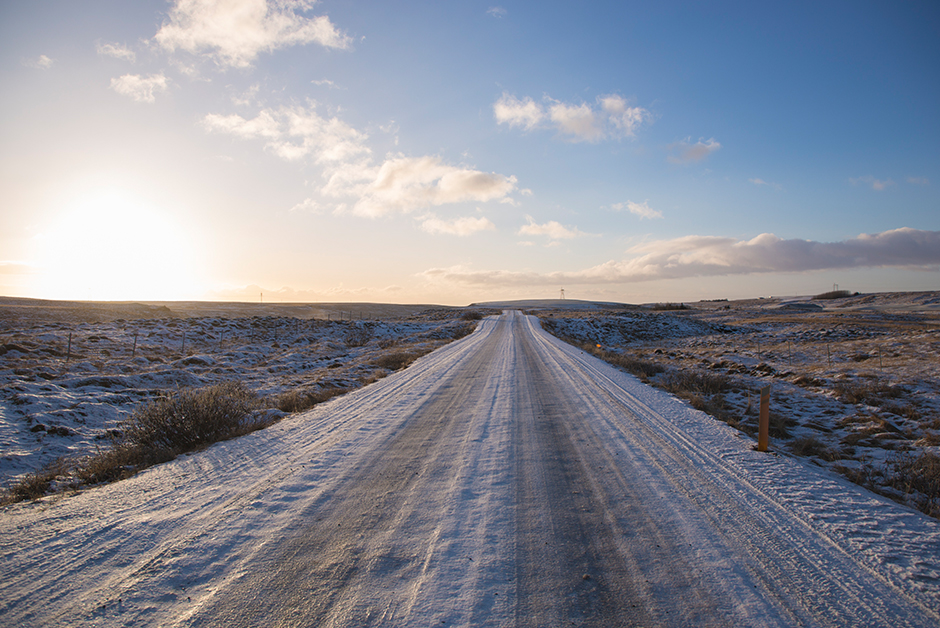
Iceland is a favorite destination of ours anytime of the year but if you go in the Winter, you’ll have the immaculate landscapes and amazing waterfalls all to yourself. Plus, it will probably all be covered in snow and make it that much more magical. The weather will be very cold though, so you’ll want to be prepared (here’s all my best tips for that here!) and you might not be able to get everywhere due to the roads being bad, but it really is a magical winter destination.
When to Go: Late November

To this day, of all the places we’ve been, there are a few travel memories that top the rest. One of those that is in my top few is our morning on the Great Wall of China as the snow fell around us. We were two people of only five up there that morning and after hearing horror stories about the crowds on the Great Wall, that moment was even more incredible as we had the whole place to ourselves. And not to mention, the snowfall made it simply incredible. Go to Beijing in late November or early December and have a driver take you up to the Great Wall first thing in the morning so that you’re the first ones up there for a similar experience. Winter on the Great Wall of China is pretty amazing when the crowds are light and the weather is cold.
When to Go: Late November/Early December

London is lovely at all times of the year but I’m partial to the city in the month of December when it’s all decorated and lit up for Christmas. From ice rinks that pop up to streets all lit up at night with Christmas lights and cozy pubs to hold up in, London is one of those cities that just feels little bit more magical in the Winter time.
When to Go: December

The Southern part of Germany known as Bavaria is one of those destinations that is just perfect for visiting in late Winter, as the food screams “comfort food” and there will still be snow on the ground. Add to that fairytale castles and apple strudel and Bavaria is the perfect destination in early March as Winter starts to wane but there is just enough left to make it magical.
When to Go: Early March

While I’d never say no to Paris year round, there is something about visiting the city in November and December when there aren’t very many tourists, when the city lights up at night as the darker hours drag on and it’s the perfect excuse to find a cafe and drink wine as the sun sets.
When to Go: November/December
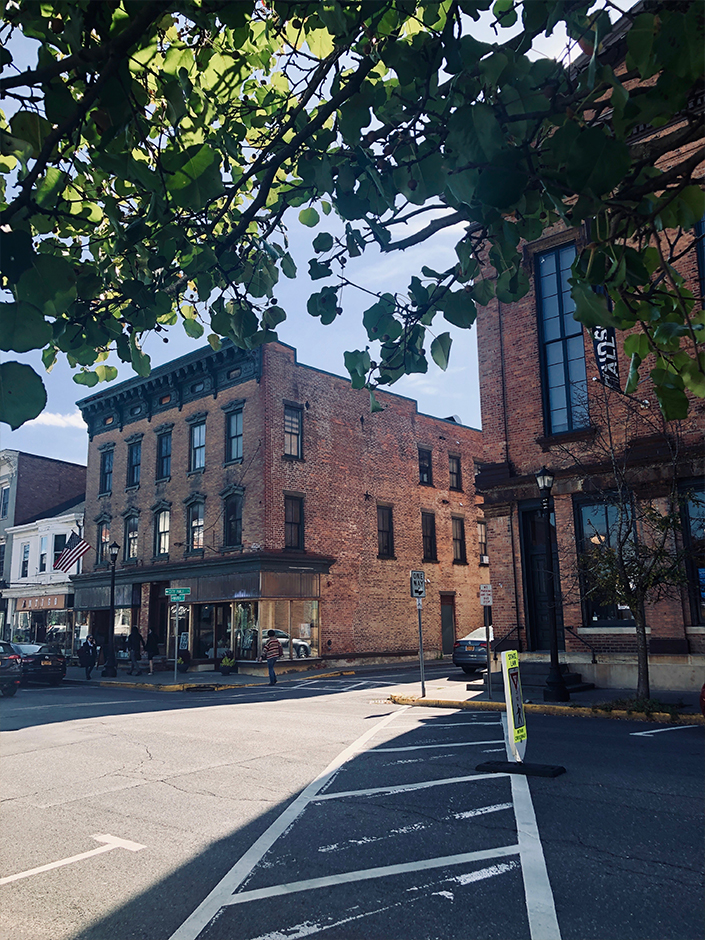
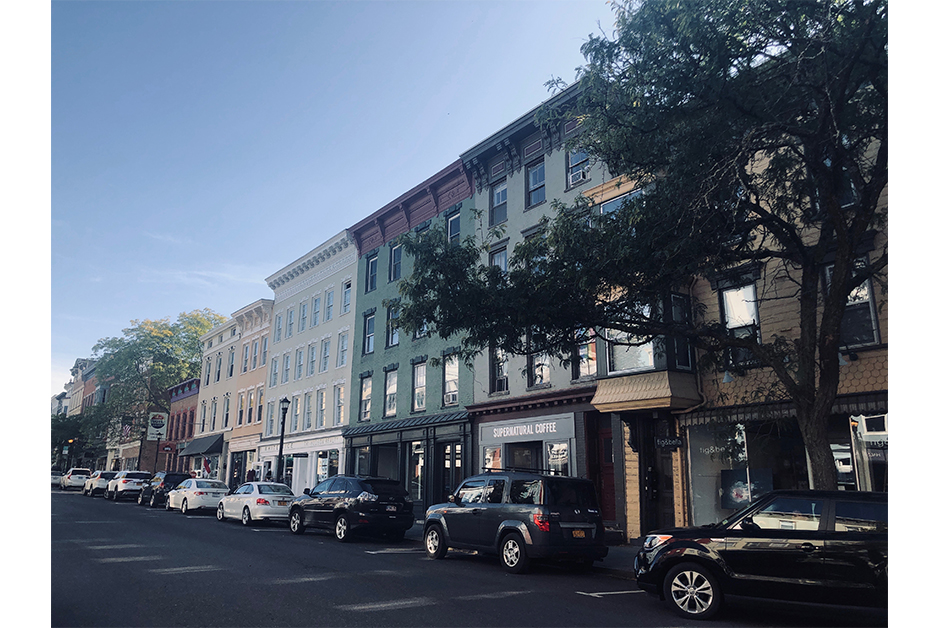
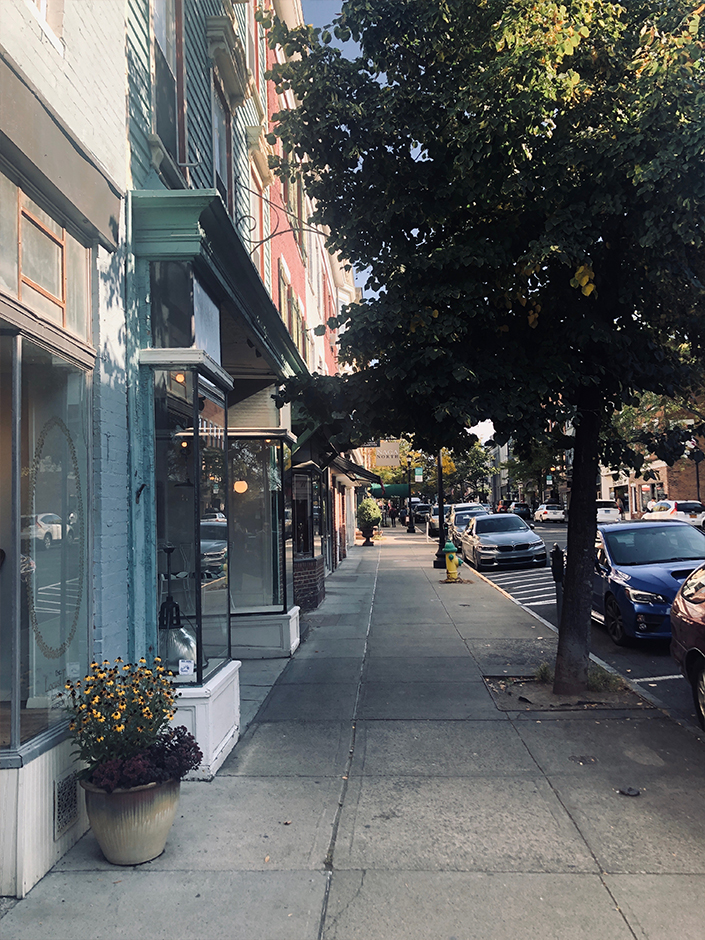
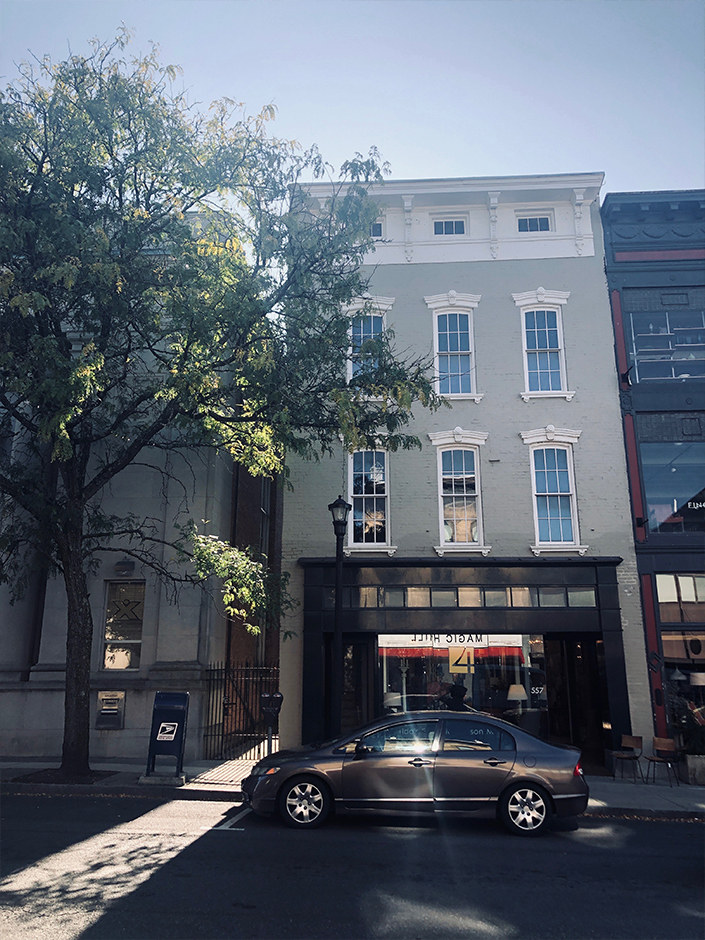
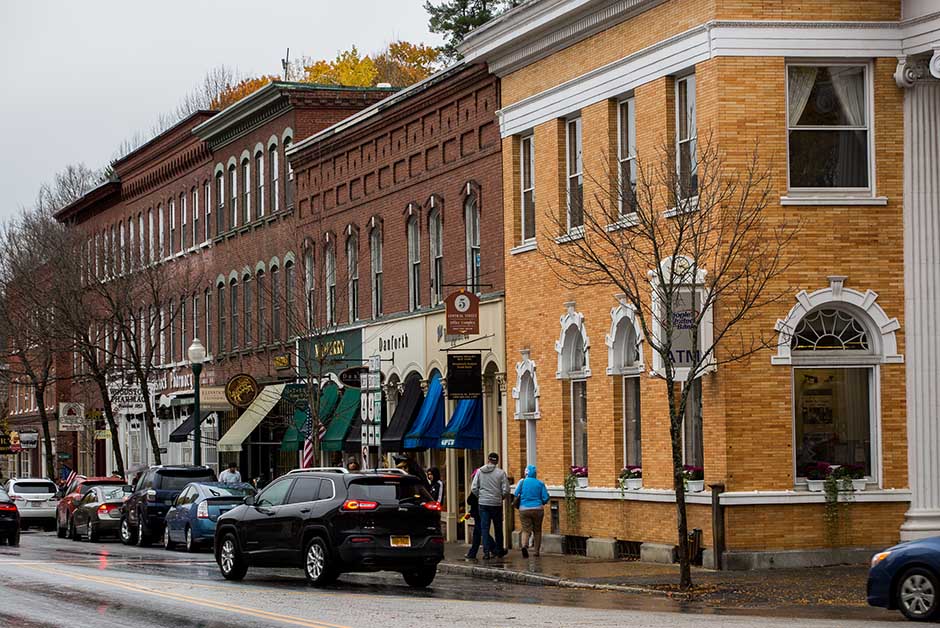
Our trip to New England and Upstate New York coincided with my birthday and as someone who adores Fall, it was perfect timing to see the amazing Fall color we got during our trip. As we left Vermont and headed down through Upstate New York, we stopped for the afternoon and stayed the night in Hudson, New York. I first came across the cute town of Hudson after following House of Brinson on Instagram and knew that when we’d be in the area next, we’d have to check it out.
We got to Hudson around mid-day and in truth, I expected there to be more to do in this town. It was a Tuesday and most of the shops and restaurants were closed so we didn’t have a lot to do and in hindsight, we probably shouldn’t have stayed the night here, just stopped for a few hours and then headed onwards. But alas, we spent the afternoon seeing as much as we could and stayed at The Wick Hotel for the night in town.
Hudson feels very much like a small microcosm of Brooklyn and while you’re still a few hours outside of NYC, it felt very reminiscent of spots in Williamsburg and other spots in Brooklyn. I wasn’t super blown away and I think this area is definitely better in photos that in person, but I’m glad we got to see it nonetheless – I just wouldn’t plan too much time here if you go in the future.
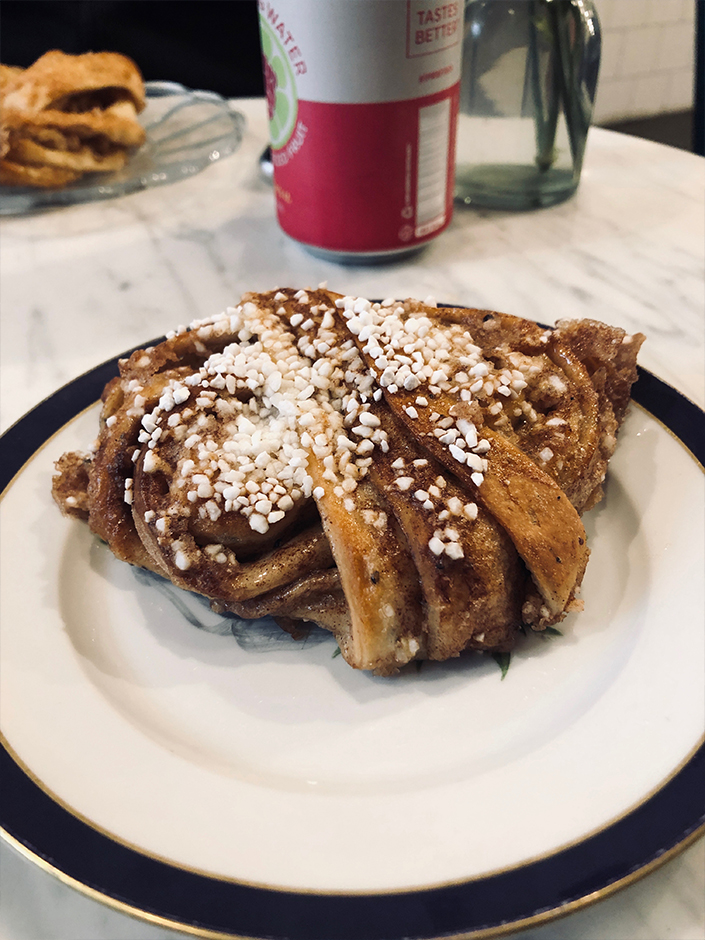
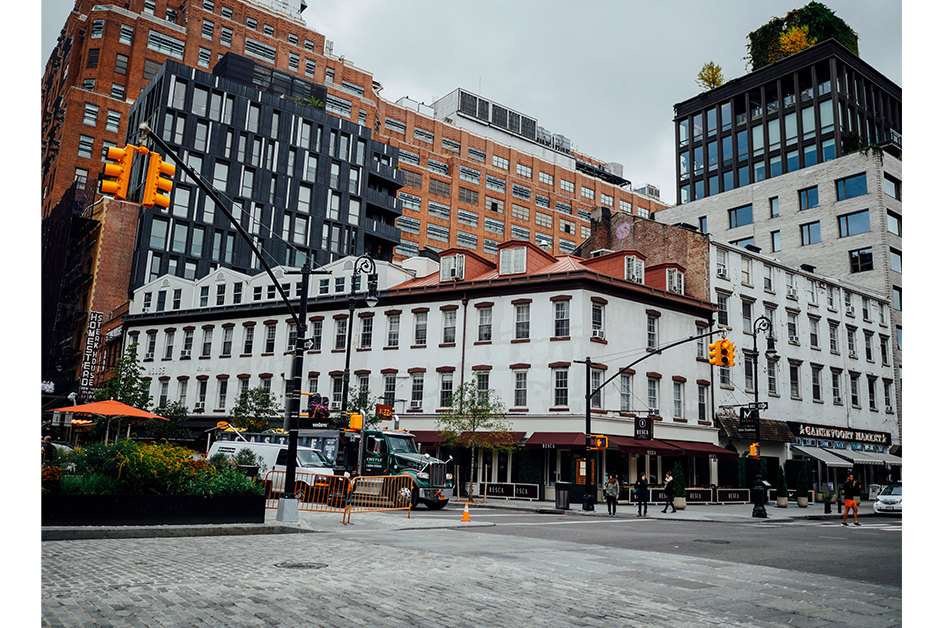
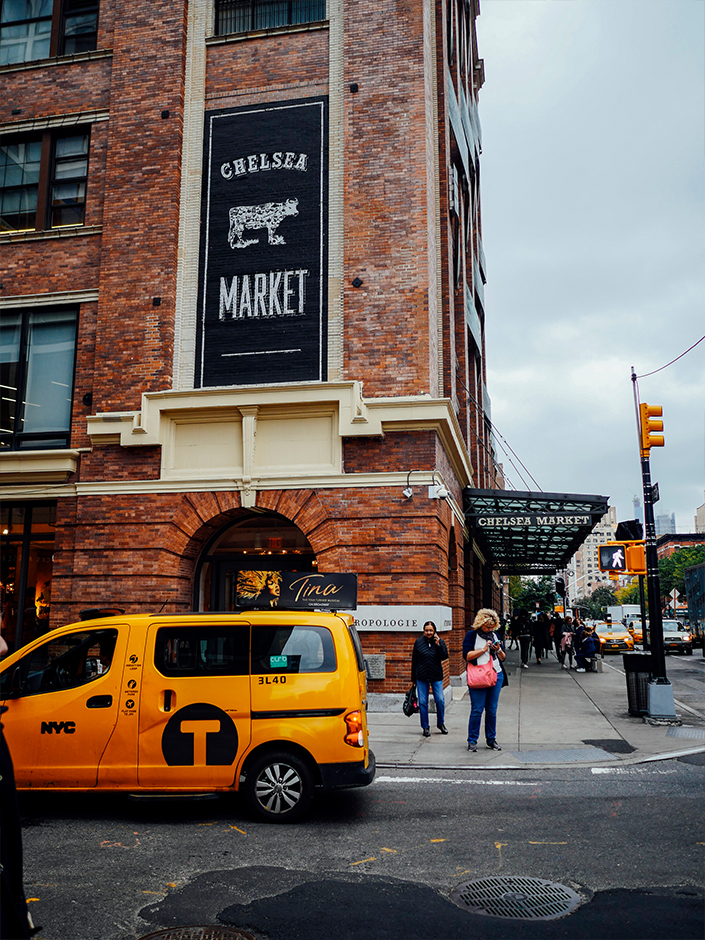
After our night in Hudson, we drove South to Manhattan. We were flying out of Newark but our flight wasn’t until later afternoon and I had heard a few months ago that Fabrique (my fave Swedish bakery that we’ve been to in Stockholm and London) opened up a location in New York City. Since we had time to kill, we decided to go into Manhattan for a couple hours. Long story short, those couple hours ended up costing us about $100 just for parking and toll fees but it was worth it to sit and enjoy a Swedish cinnamon bun and wander around the West Village for a couple hours.
Driving in Manhattan was definitely interesting and while I’ve driven all over the world, navigating the traffic and one way streets while trying to find parking was a crazy experience but I’m so glad we did it in the end!


Headed to New York?
See more of our New York content here!

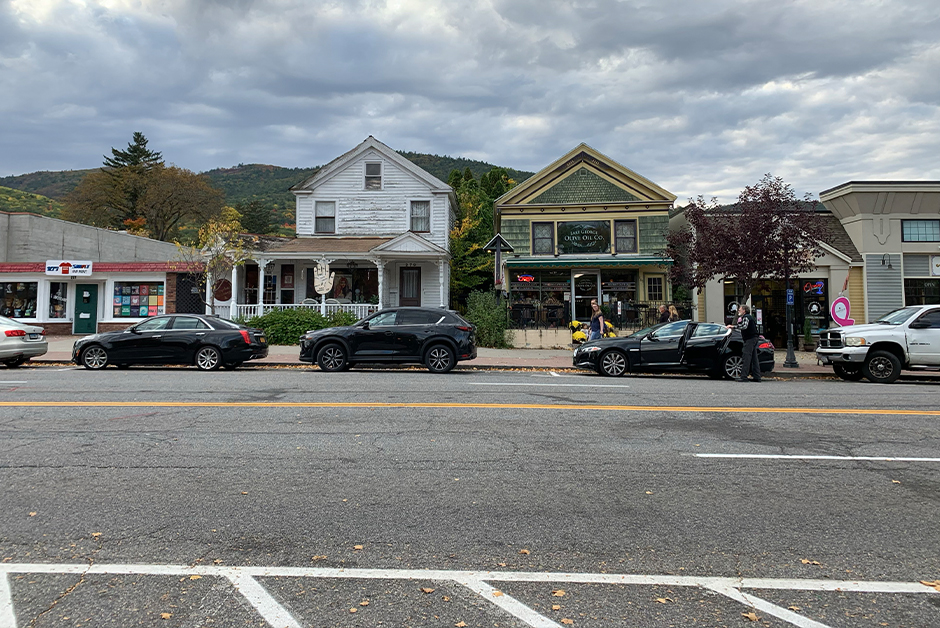
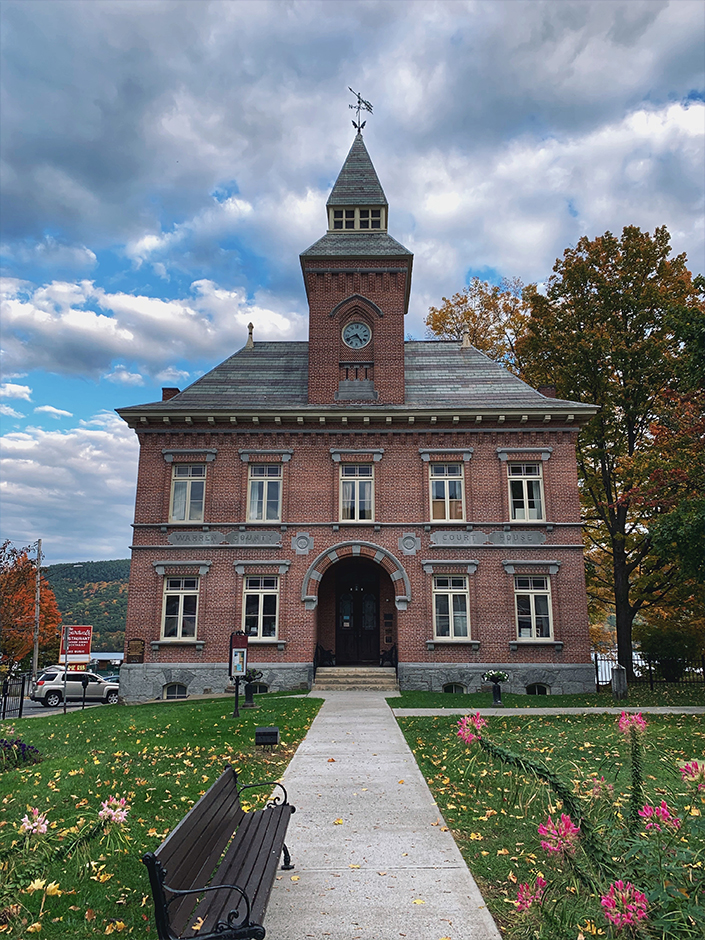
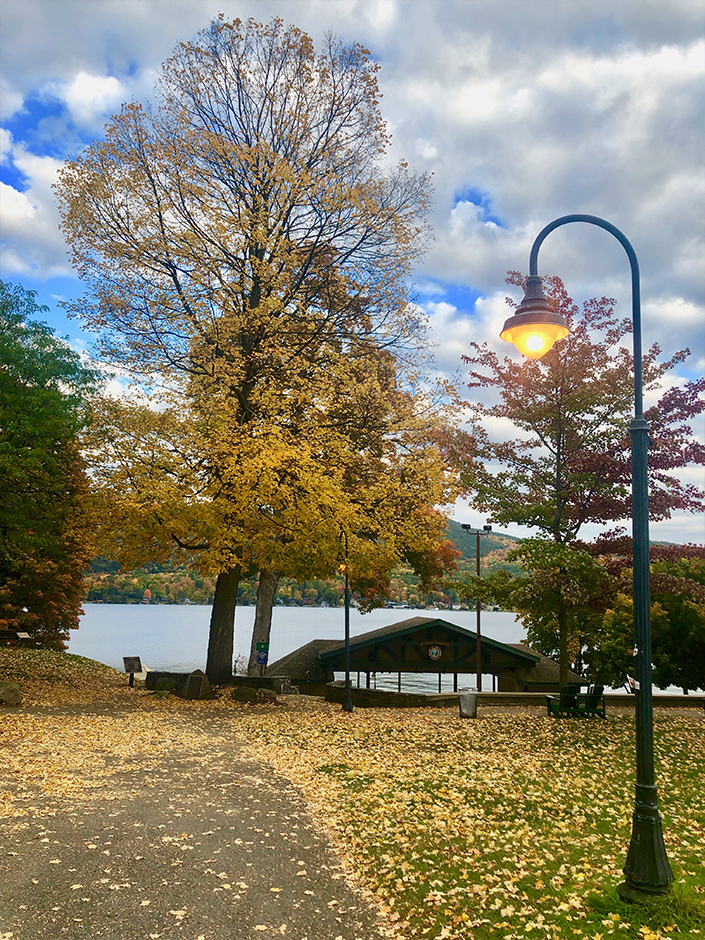
After leaving Vermont, we headed West and drove down toward Manhattan through Upstate New York. We’ve been to New York City several times but this was our first trip venturing out to see more of the State and I’ve got to say, Upstate is pretty damn beautiful. We drove down the Eastern edge of the State and stopped for the night at Lake George which was a beautiful area. The following day we continued South towards Hudson and eventually New York City. Exploring Upstate New York for the first time was definitely a treat and it’s an area of New York that has so much to offer.


Headed to New York?
See more of our New York content here!
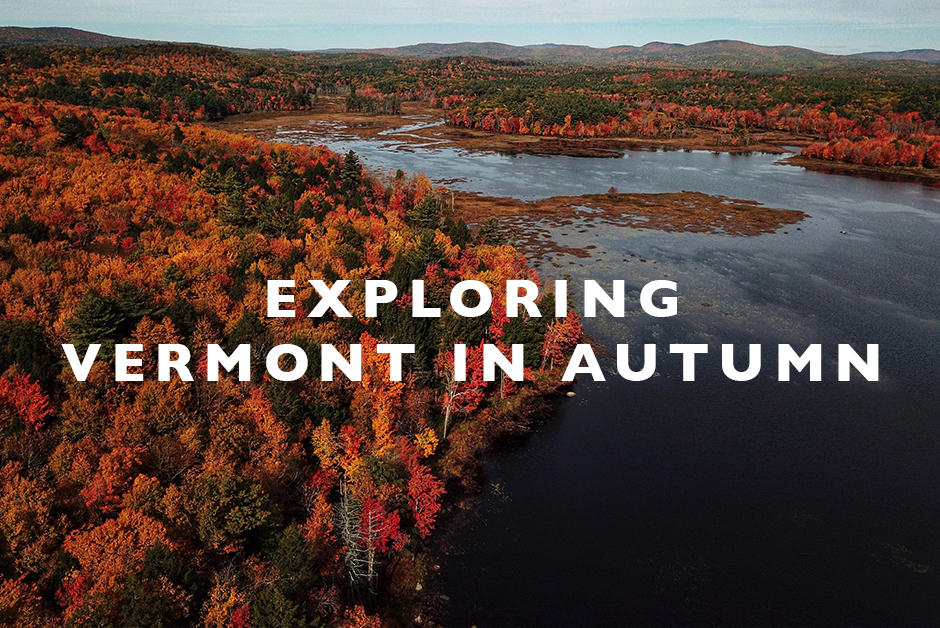
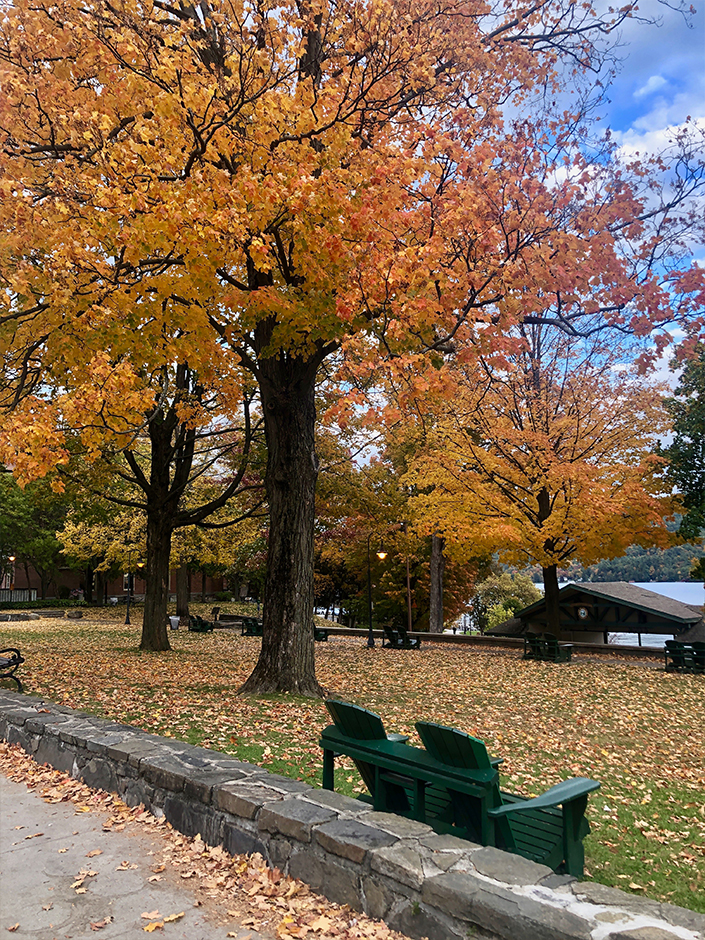
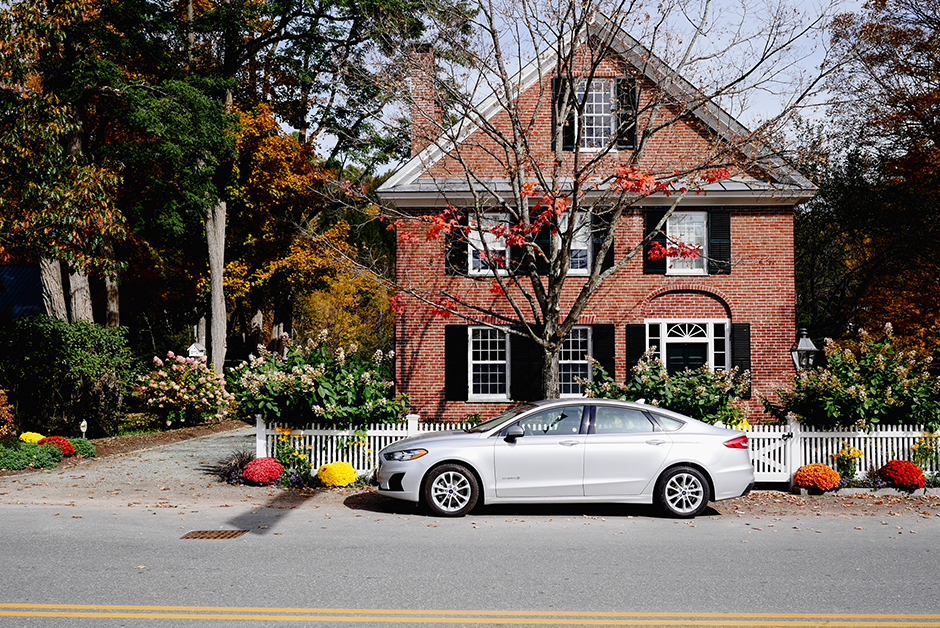
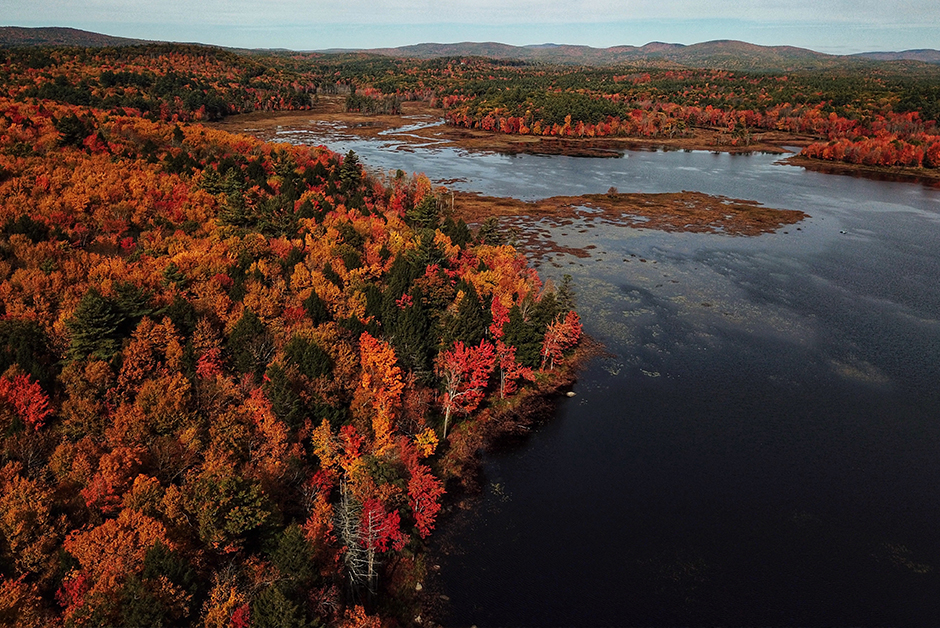
A few years ago, we ventured to New England and I fell hard in love with that part of the world, especially Vermont. From then on, many people have heard about my fondness for Vermont and the beauty of the State. It’s often one of few “escape plans” I talk about when the world is a little too crazy and I often dream about moving to a little Vermont town, fixing up an old house and living a simpler life. So when it came time to pick where we’d go this year for my birthday in October, I knew a return trip to Vermont was the perfect spot as my birthday falls during their peak Autumn colors in New England and you haven’t seen Autumn color until you’ve seen it in Vermont. Truly there is something so spectacular about the color there that will keep you coming back for more.
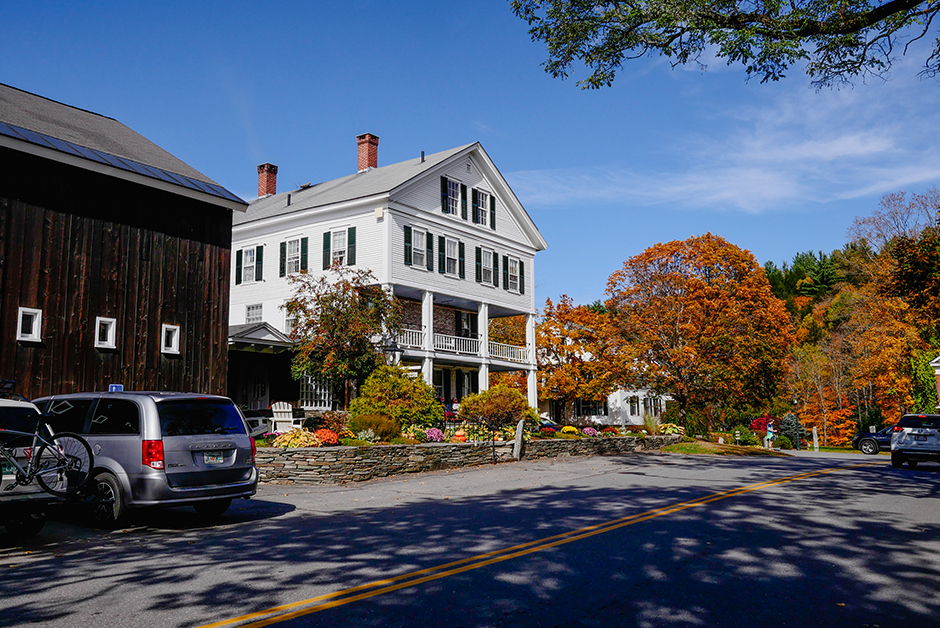
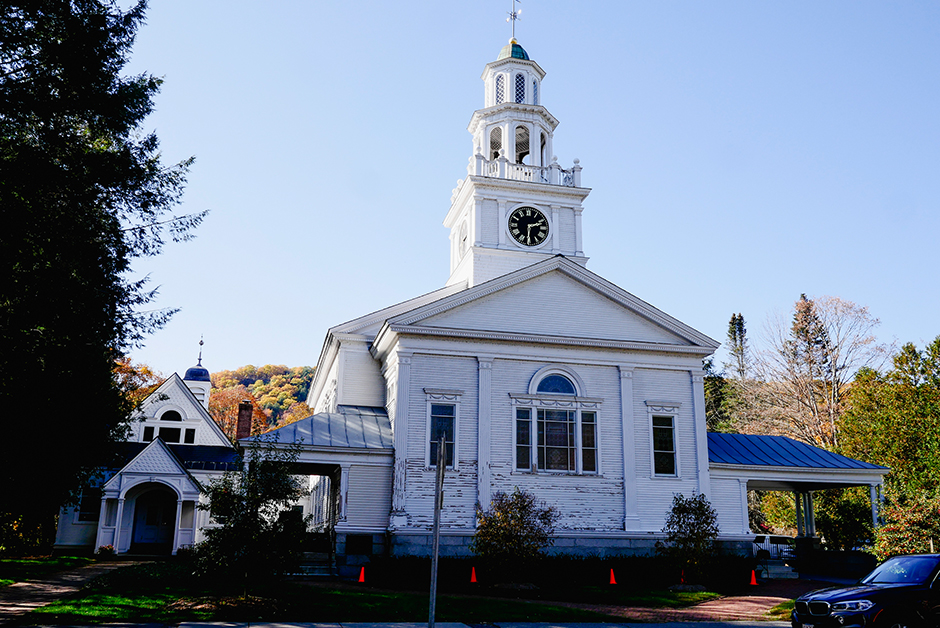
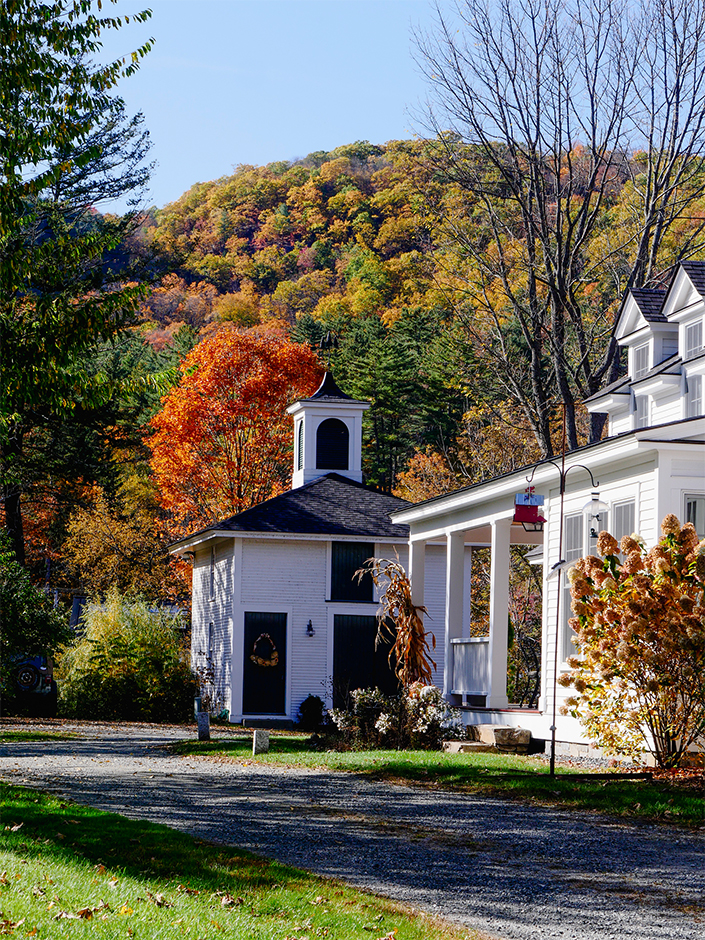
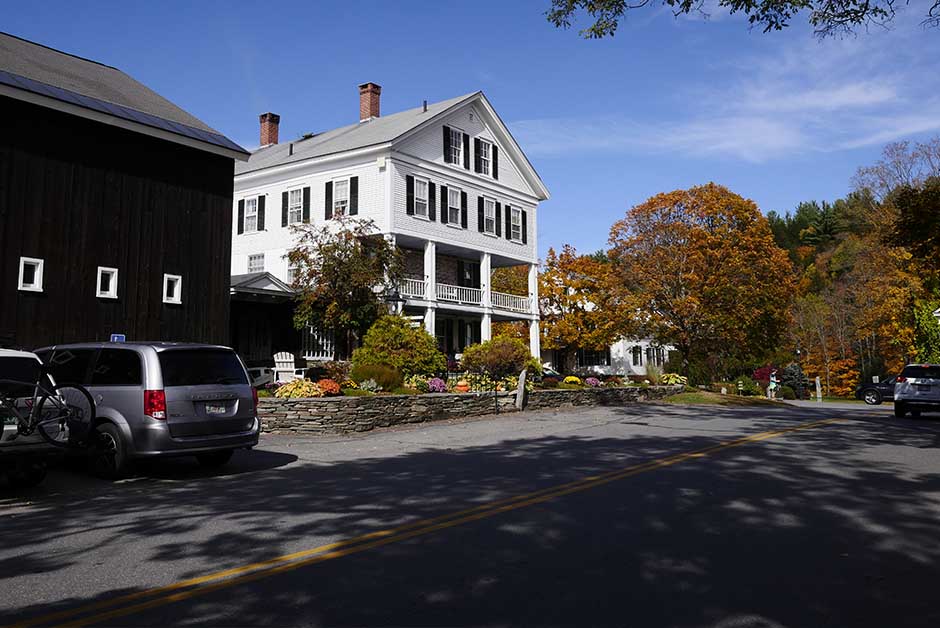
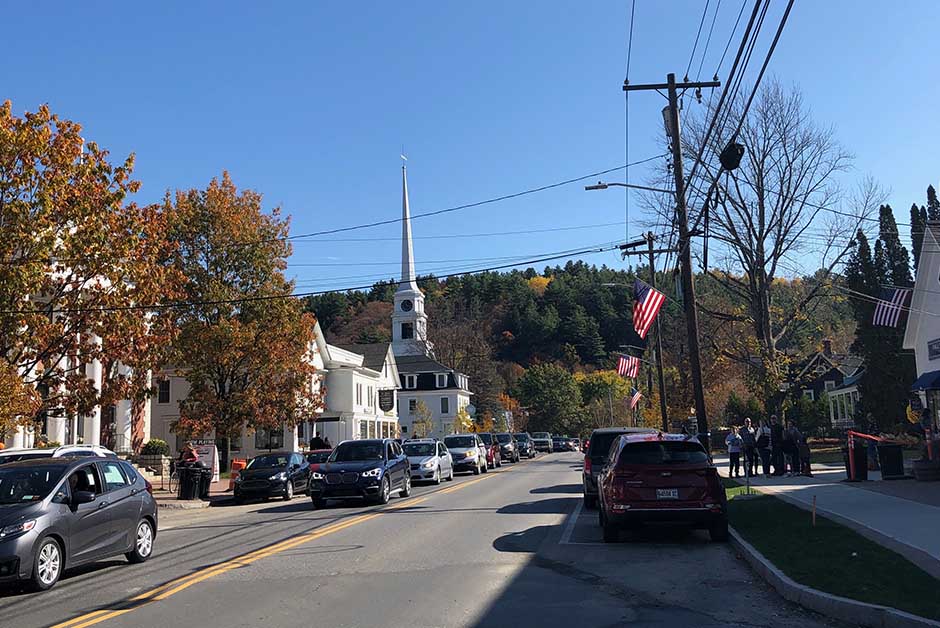
On this trip to New England and Vermont we wanted to see some of our favorites from last time but also to explore more of the towns we didn’t make it to last time. This trip we started flying into Boston, rented a car and drove up through New Hampshire. We stayed the first night in Nashua, New Hampshire and then headed further North into Vermont stopping first in Grafton, a spot I had wanted to see last time and didn’t make it. Grafton truly is that picturesque little Vermont town and had me dreaming of ways to scheme up my escape there. Next, we drove an hour to Woodstock, a town we fell hard for on our last trip. Woodstock, Vermont is perhaps one of the most beautiful towns in the whole United States and while usually pretty busy, especially on a beautiful Fall day, the town is a must-see in this part of the state.
We stayed the night in White Junction and then the following day drove the backroads up North to Stowe, winding through Montpellier and Waterbury on the way. While a long drive to get all the way up to Stowe in Northern Vermont, the tiny town was just as magical as I had hoped. Following our couple days in Vermont we headed West and drove down through Burlington and Vergennes before crossing the border over to Upstate New York which I’ll have more posts on coming soon.
Our return trip to Vermont brought all the Autumn vibes I was hoping for and all the magic that I remembered from the first time too. Vermont in Autumn is a mystical experience; the colors are truly so magnificent they look like someone is painting the world right in front of you and experiencing it is a must-see on everyone’s travel list!


The six states that make up the area of the United States called New England are an area of my home country that I always recommend to people when they ask where they should travel within the US. In truth, New England is perhaps my favorite part of the US and I’ve often fantasized about moving there, specifically Vermont, to a picturesque small town. After several trips to the region, at all different times of the year, I’m compiling a list today of some of my favorite small towns in the area, all beautiful, all unique. There is just something about the small towns of New England that are so different from what we have on the West Coast of the US and their charm will certainly take you over. You’ll want to fly into Boston or New York to explore this part of the country, rent a car and head to the best small towns in New England!
Perhaps the most beautiful town in the entire United States, Woodstock is straight out of a movie.
This tiny town in central Vermont is so picturesque that I found myself dreaming up a scheme to move there.
In the mountains in Northern Vermont, Stowe is a ski-town in the Winter and all around beautiful town the rest of the year.
Larger in size than most of the others on this list but still worthy, Manchester in Southern Vermont is lovely and offers a larger variety of stores and restaurants than most of these other towns.
Home to Dartmouth College, Hanover is quaint and lovely.
Famed for the historic Salem Witch Trials, this little town in Massachusetts is always worth a visit.

Go to Kennebunkport just for the lobster rolls… you can thank me later.
A beautiful brick town built on the water, Portland, Maine has an old world feel to it.

This charming little town way out on the Cape Cod peninsula in Massachusetts is full of little cottages, cute shops and upscale restaurants.

One of my all time favorite US destinations, Newport is a gem among the rest. This beautiful town feels very European and set along the coast, the views are stunning.

I shared a few weeks back that I went dairy free in the beginning part of 2019 and without a doubt, it’s changed my life. My health is so much better when I stick to a dairy free diet and when I’m home in Portland, whether cooking at home or eating out, I’m able to stick to doing no dairy in my daily life. However, since going dairy free I’ve been on two major trips – the first to Europe in July about 3 months in to doing dairy free. The second was our recent trip to Vermont and New York earlier this month. And I will tell you, traveling dairy-free is hard.
I’m still learning how to be completely dairy-free in all honesty, but traveling makes it that much harder. I’ve always been a very non-picky eater. I like pretty everything and there are very few things I would stay away from, particularly when traveling, which has always made it pretty easy for me to eat while traveling. So these recent trips since going dairy-free have been completely different in that sense – no longer can we really eat anywhere, no longer can I really order several things on a menu. I have felt pretty lousy coming back from both of these last couple of trips in all honesty, because at some point I just sort of gave up and ate dairy, which in turn made me physically feel horrible. Unfortunately, this is my new reality and it will take some getting used to but I definitely have learned a few lessons in regards to going dairy-free while traveling and if, like me, you’ve had to give up an entire food group, these might help you as well to eat healthy while on the road and keep up your diet to feel the best you can.
At home, I have found that my favorite milk alternatives for cooking and my coffee are rice milk and coconut milk. But when we travel, those plant based alternatives aren’t always widely available. I usually can count on Starbucks wherever we’re traveling to have coconut milk for my coffee but in smaller locations, you might not be able to get what you get at home. We’re really lucky in Portland that most of our restaurants can very easily cater to different diets and substitutions, but that’s not the case other places, even other places in the US so be prepared for that.
I’ve come to realize that what I might order or make at home, might not be available that way somewhere else so I’ve come up with other options and substitutions that I will still like. For example, if a coffee shop doesn’t have coconut milk, I’ve found they might have Oat Milk. I don’t like it as much, but it’s a good backup. For things like ice cream, especially when in Europe, they might not have a coconut milk based option like I get at home but most ice cream shops will have sorbet options and those usually don’t have dairy. Figure out backups to what you’d normally order and then go for those.
I honestly hate brining my own snacks when I travel. I hate packing them, they get all crushed in a bag and they are just extra that I hate bringing. But I’m slowly realizing that this will become a necessity for me from now on. Whether it’s a bag of dairy free popcorn or energy bars, having a few backups can be a really good thing.
One thing I’m learning in this process of eating dairy-free is that you have to have an idea of how food is cooked in order to actually be able to order properly in restaurants. For example if you don’t know that something is generally make with milk, you might order it and not even know there is a ton of milk in the item. I cook a lot and I am pretty good at making things from scratch so knowing how food is made has really helped me develop a sense of what to order and not to order.
One of the saving graces that I’m finding while traveling, when in doubt and you can’t find anywhere that looks like it will be dairy-free, find Asian food. Asian food in general doesn’t use very much dairy and in many “creamy” asian dishes in Thai cuisine say, it’s usually cooked with coconut milk. I actually find myself craving Asian food more now that I’m dairy-free, mostly because I can usually pretty much order anything on the menu there.
I’ve also found that for other types of cuisine, there are things that are easier to order. For example, at Italian restaurants, I usually go for a red sauce on pasta which usually doesn’t have dairy in it. At Mexican restaurants, I lean toward a tostada or taco salad without cheese or sour cream. It will take time, but you’ll figure out what works for you and what doesn’t!
A couple months back when I did an Instagram survey, I had several people comment that they would love to see more content here on Land of Marvels about our home renovation and today, I’m starting a new series for that specific purpose. As much as I love to travel, I love being at home and as an Interior Designer in my day job, design and renovation are also a very big part of my life.
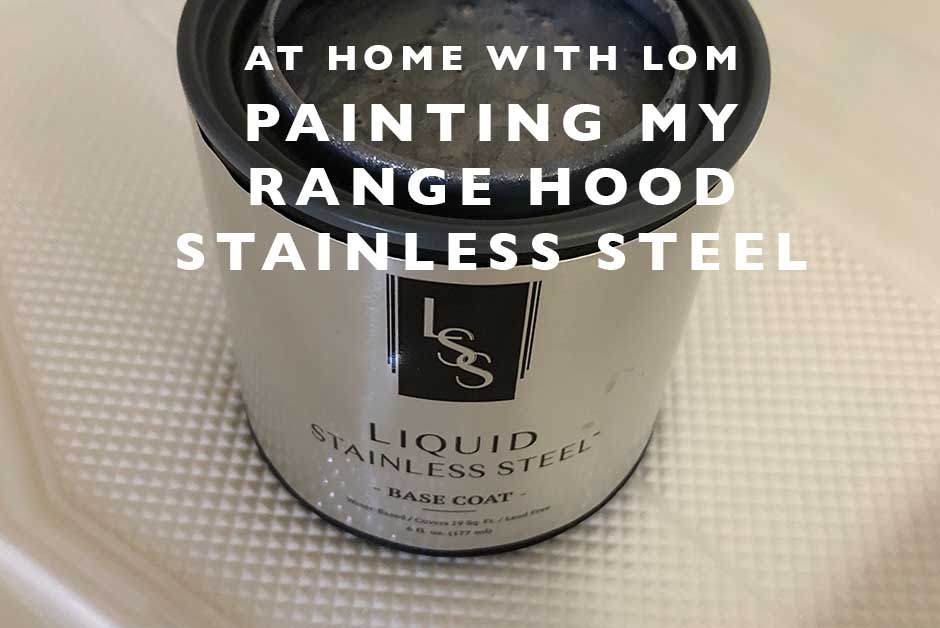
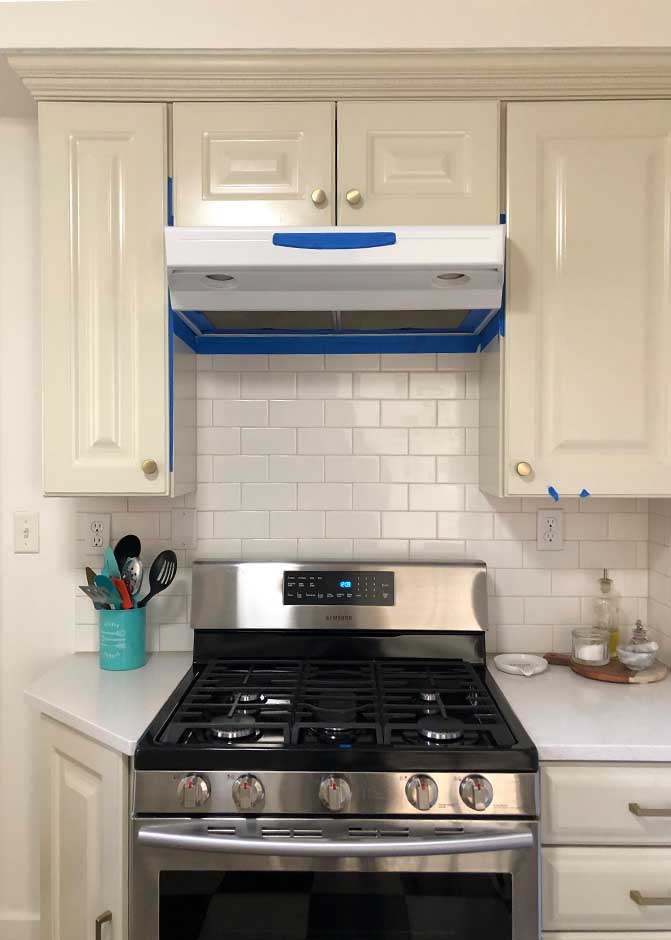
If you’re not aware or don’t follow me on my personal Instagram (cmart1015), my husband Nick and I bought a 1925 Dutch Colonial house in SE Portland a year ago and we’ve been renovating it ever since. We’ve done a number of room renovations which I’ll get into in future posts, but I’m also going to start sharing a few other smaller DIY projects that we’ve had a lot of success with, starting with today’s post: painting my range hood stainless steel!
Ok so let’s back up a little bit and talk about our kitchen in this house. The kitchen was fine, but it was just a little dated: black speckled granite countertops and all white appliances. In August, we did a semi-renovation, changing out the countertops to a white Quartz, a new light fixture and new fixtures (stay tuned soon for the entire room reveal and makeover post!). We also recently updated the gas range and the dishwasher and installed stainless steel versions of both. We’ll eventually get to the refrigerator, but that’s a whole different story for another time. Above our beautiful new gas range (with 5 burners, that makes me so happy!!!) is a range hood that was installed already when we bought the house. It works great, has lights in it and the fan really does do a great job. I don’t use it all that often, but it completes that side of the kitchen so when it came to figuring out how to make it match the new stainless steel range, the white just wasn’t looking good.
I started doing some research online and found a few different products for painting old appliances stainless steel. I found some spray paint options and then I found the one I ended up going with: Liquid Stainless Steel. I bought mine on Amazon for $25 which is a far cry from shelling out hundreds of dollars on a new stainless steel range hood to match! So one day a couple weeks ago, I decided to give it a go and here are all the tips and information I gathered from my research and my process of painting my range hood stainless steel.
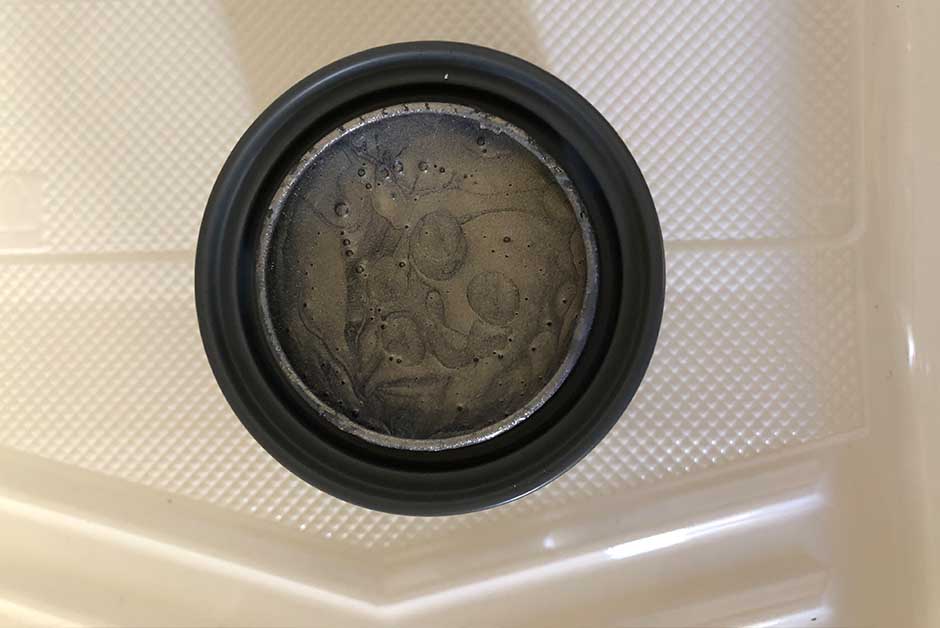
The first thing you need to do regardless of which appliance you’re painting is clean it really really well! I started by laying out old towels (you could also use a plastic dropcloth) over my range to protect it from any paint splatter during the process. My range hood was filthy with grease and dirt from years of use and I used cleaning wipes to get all the dirt and grime off of it. Do a good job with this step to make sure the paint adheres correctly later.
Once it’s clean and dry, tape everything off with painter’s tape! This will make it go a lot faster later when you’re painting. I taped every edge of the range hood as well as the connecting cabinet edges. I used a thicker painter’s tape for the edges and a thinner one for the section where the buttons are that I didn’t paint.
You’ll start with the base coat can of paint that comes in the package. Shake it really well before opening and then with your wooden stir stick, make sure you stir it really well too. I put a paint tray liner down over the old towels just to keep the can in and make sure no paint got on my countertops. There are actual metal particles in this paint so they get a little clumped up if you don’t stir it well. I also stirred it again really well before every subsequent paint coat.
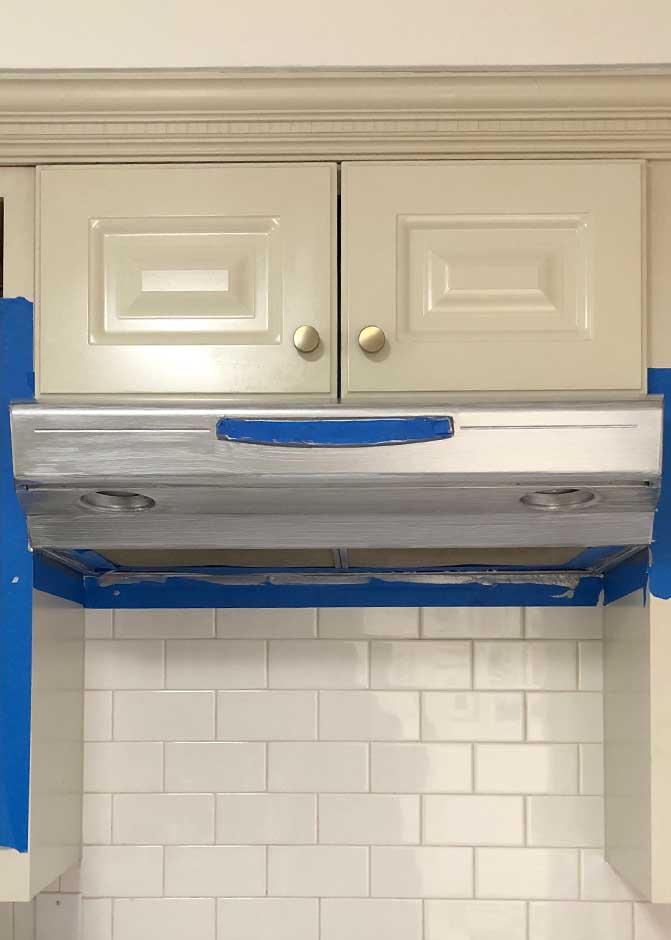
Once the paint is mixed and stirred, dip the brush that comes with the packaging in the paint can lightly. You don’t want a huge amount of the paint. And then with brush strokes side to side (you might want to go up and down depending on what type of appliance you’re painting), you paint from left to right in steady strips. The first coat is not going to totally cover everything and that’s ok. It will look stripey after the first coat and that’s how it should be. Just be sure to get every part of the appliance that’s visible with the first coat and make sure it looks even and the lines look straight.
The directions say to wait an hour between coats and I did that on the first few. Set a timer for 1 hour, let the first coat dry and then come back an hour later and do the second coat. Mix the paint again with your stir stick before you start the next coat, then dip your painted brush and do the same thing, except this time, go the opposite direction than you did on the first coat. If you started painting left to right, this time go right to left. I did a little bit more paint on the brush this time around versus the first coat just to fill in any of those areas that didn’t get enough on the first coat. You’ll start to notice it blending better on the second coat.
Also make sure that any spots that get a little clumpy, that you even them out and smooth them… you don’t want it to dry that way!
Same thing as before, let it dry an hour and then come back for the remaining coats, however many you might need. I did 4 on my range hood and that seemed to fill all the areas on the surface and visually, it looked great after 4 coats. You’ll want to determine how many coats your individual appliance needs and just take it one coat at a time until it looks good visually.
Lastly, once all the other coats are dry, you’ll want to paint the topcoat over all the other coats of paint. This will both protect it as well as give it a finished look. This coat does go on a little bit blue in tint but dries quickly to a clear topcoat. Let this coat sit for at least an hour before you take off all the tape but voila! You have a new stainless steel appliance to enjoy.
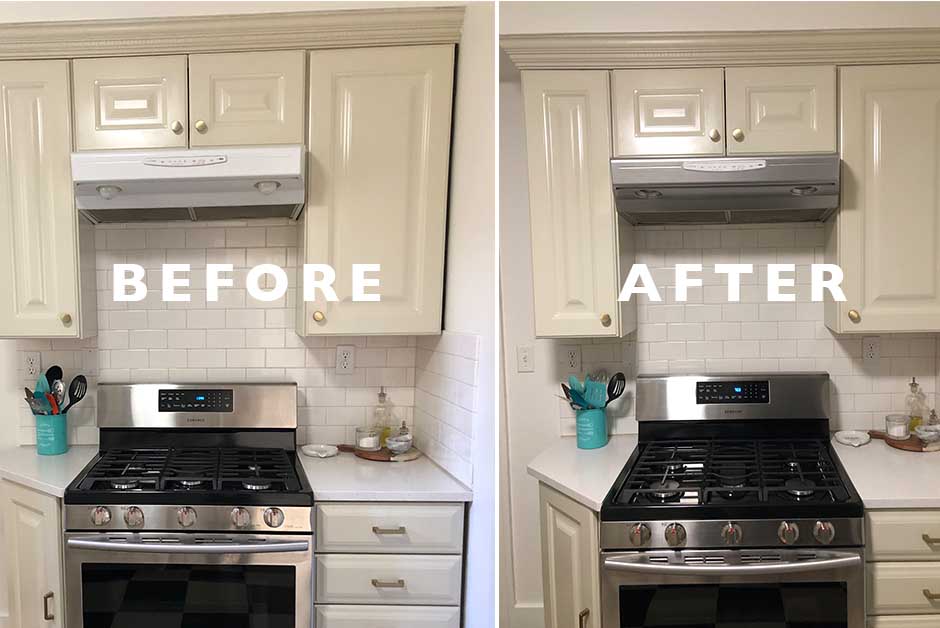
I will be raving about this product (not sponsored in any way!) for a long time to anyone who will listen. It totally transformed an okay vent hood into something that actually looks like it belongs where it is and it really does like like Stainless Steel. If I didn’t tell you that it was painted, you probably wouldn’t even know!
*Just a note to say that some of these links I’m linking on this post are Amazon Affiliate links. I want to always be transparent when I do include affiliate links as I hardly ever do. But this specific project, I ordered all these items myself on Amazon so I thought it would be easiest to link them here for you if you want to tackle the same project!